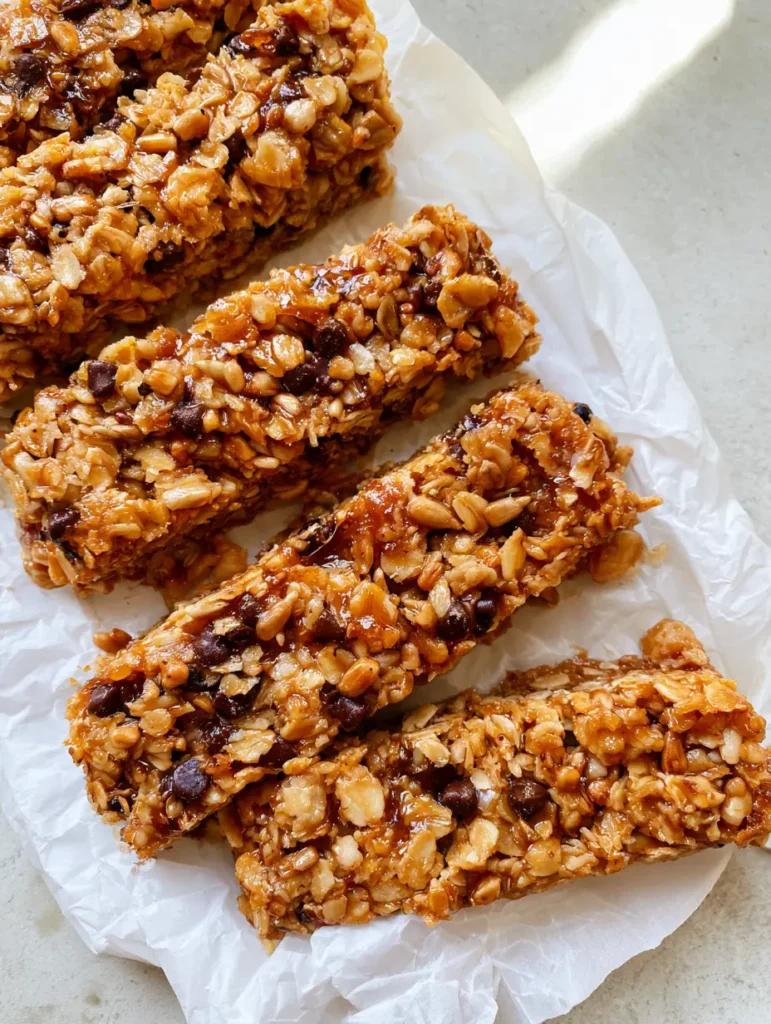
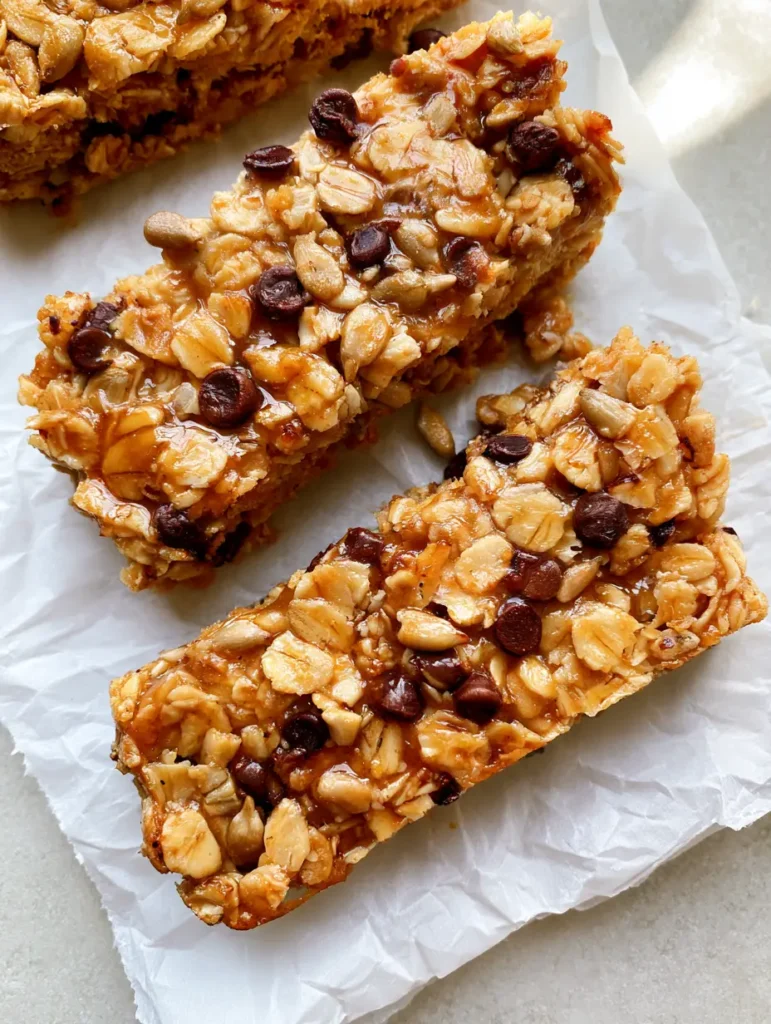
Homemade Snacks for Kids are the ultimate solution for busy afternoons when everyone is hungry and you want something better than store-bought options. These rectangular granola bars are a sensory delight, featuring a dense mixture of large rolled oats, tiny dark chocolate chips, and toasted sunflower seeds. Everything is held together by a glossy, sticky golden-brown honey syrup and a creamy peanut butter binder that makes every bite perfectly chewy.
When you make these Homemade Snacks for Kids, you are in total control of the ingredients. There are no hidden preservatives or excessive sugars—just wholesome oats, protein-rich seeds, and a sprinkle of salt flakes to balance the sweetness. The rustic, chunky texture and the slight sheen from the nut butter binder make these bars look just as good as they taste, especially when served on a sheet of crumpled white parchment paper.
If you are looking for more ways to fuel your family throughout the week, you might also enjoy our cheap healthy dinners for picky eaters (coming soon) or these fun homemade pizza pockets for a warm weekend treat. These granola bars fit perfectly into a balanced routine of Homemade Snacks for Kids that parents can feel great about serving.
Why These Are The Best Homemade Snacks for Kids
- Perfectly Chewy Texture: Unlike crumbly store-bought bars, these stay together thanks to the honey-peanut butter glaze.
- Visual Appeal: The contrast between the large rolled oat flakes and the tiny dark chocolate chips creates a rustic, gourmet look.
- Nutrient Dense: Packed with toasted sunflower seeds and fiber-rich oats to keep kids full longer.
- Glossy Finish: The honey and peanut butter binder creates a beautiful sheen that makes these Homemade Snacks for Kids irresistible.
Essential Ingredients for Gourmet Granola Bars
To achieve the specific texture seen in our visual blueprint, each ingredient plays a critical culinary role. We aren’t just mixing things together; we are building layers of flavor and structural integrity.
Large Rolled Oats: You need 3 cups (270g) of old-fashioned rolled oats. Do not use instant oats, as they lack the “chunky and rustic” visual profile we want for these Homemade Snacks for Kids. The large flakes provide the essential structural base.
Toasted Sunflower Seeds: 1/2 cup (65g) of hulled sunflower seeds adds a nutty crunch. Toasting them is a non-negotiable step to unlock their natural oils and deep flavor.
Creamy Peanut Butter: 1/2 cup (125g) of creamy peanut butter acts as the primary binder. It provides the “slight sheen” mentioned in our blueprint and ensures the bars are soft rather than rock-hard.
Honey Glaze: 1/2 cup (170g) of high-quality honey creates the “glossy, sticky golden-brown” syrup that coats every oat. It is the glue for these Homemade Snacks for Kids.
Mini Dark Chocolate Chips: 1/3 cup (60g) of mini chips ensures you get chocolate in every single bite without the chips being so large that the bars fall apart.
Salt Flakes: A generous pinch of flaky sea salt is the secret to professional-tasting Homemade Snacks for Kids. It cuts through the sweetness of the honey and chocolate.
Vanilla Extract & Coconut Oil: 1 teaspoon (5ml) of vanilla and 2 tablespoons (30ml) of coconut oil help the binder flow smoothly and add a subtle aromatic depth.
How to Make Homemade Snacks for Kids (Step-by-Step)
1. Toasting the Base for Maximum Flavor
Preheat your oven to 350°F (175°C). Spread your 3 cups (270g) of rolled oats and 1/2 cup (65g) of sunflower seeds on a baking sheet. Toast for 8-10 minutes, shaking the pan halfway through. You are looking for a light golden hue and a fragrant, nutty aroma. This step ensures your Homemade Snacks for Kids aren’t bland.
2. Creating the Glossy Honey Binder
In a small saucepan over medium heat, combine 1/2 cup (170g) honey, 1/2 cup (125g) peanut butter, and 2 tablespoons (30ml) coconut oil. Whisk constantly until the mixture begins to bubble slightly. Remove from heat and stir in the vanilla extract. The mixture should be a glossy, sticky golden-brown syrup.
3. The Big Mix
In a large mixing bowl, combine the toasted oats and sunflower seeds. Pour the warm honey syrup over the dry ingredients. Use a sturdy spatula to fold the mixture until every oat flake is coated in the glossy binder. Let the mixture cool for 5 minutes before adding the mini chocolate chips—this prevents them from melting completely, keeping those “visible individual oat flakes” and distinct chocolate bits intact.
4. Pressing and Setting
Line an 8×8 inch (20x20cm) square pan with crumpled white parchment paper. The crumpling helps the paper fit into the corners and adds to the rustic aesthetic. Pour the mixture into the pan. Use the back of a greased measuring cup to press the bars down firmly. The harder you press, the better these Homemade Snacks for Kids will hold their rectangular shape.
5. The Finishing Touches
Sprinkle the top with your salt flakes and a few extra mini chocolate chips. Press them lightly into the surface. Place the pan in the refrigerator for at least 2 hours. This cooling period is vital for the honey and peanut butter to solidify into a “dense mixture.”
Expert Tips for Success
- Press Firmly: If your bars fall apart, you likely didn’t press them into the pan hard enough. Spend a full minute compressing the mixture.
- Use Fresh Nut Butter: Highly processed peanut butter stays stable, but if using natural nut butter, ensure it is very well-stirred so the oil is fully integrated.
- Don’t Skip the Salt: The salt flakes are what elevate these from “toddler food” to a snack the whole family will crave.
- Wait to Slice: Use a very sharp chef’s knife and slice only once the bars are completely cold. This gives you those clean, rectangular edges.
Storage, Reheating & Freezing
These Homemade Snacks for Kids are perfect for meal prep. Store them in an airtight container in the refrigerator for up to 2 weeks. If you prefer a softer texture, let them sit at room temperature for 10 minutes before eating.
For long-term storage, wrap individual rectangular bars in parchment paper and place them in a freezer-safe bag. They will stay fresh for up to 3 months. Simply thaw in the fridge overnight or in a lunchbox by noon.
What to Serve With This
While these bars are a complete snack on their own, they pair beautifully with other items for a full lunch. Try serving them alongside our bbq chicken coleslaw wraps for a protein-heavy afternoon. If it’s a hot day, a side of hawaiian cheesecake salad makes for a fun, fruity addition to the snack spread.
Frequently Asked Questions
Absolutely. You can swap half of the mini chocolate chips for raisins, dried cranberries, or chopped apricots. Just ensure the total volume of mix-ins remains the same so the bars stay held together.
Yes! You can use sunflower seed butter (SunButter) as a 1:1 replacement for the peanut butter to keep these Homemade Snacks for Kids school-safe and nut-free.
Toasting is highly recommended. It adds a deep, nutty flavor and a rustic golden color that makes these Homemade Snacks for Kids taste like they came from a professional bakery.
These bars will stay fresh and chewy for up to 2 weeks when stored in an airtight container in the refrigerator. For the best texture, keep them chilled until ready to serve.
This usually happens if the binder (honey and peanut butter) wasn’t heated enough to become sticky or if the bars weren’t pressed firmly enough into the pan. Use the bottom of a flat cup to compress the mixture as hard as you can.
The Ultimate Chewy Granola Bar Recipe
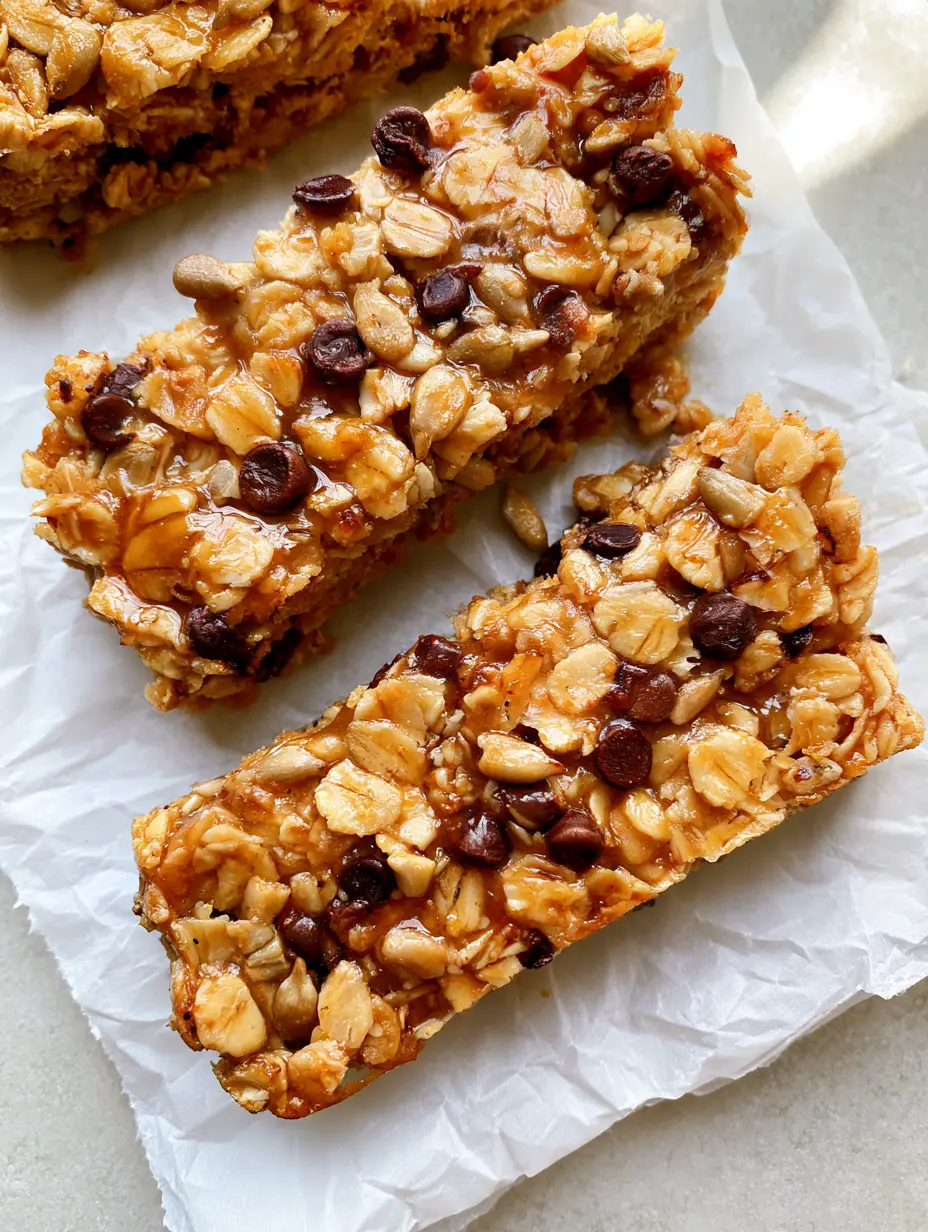
Homemade Snacks for Kids: Chewy Honey and Peanut Butter Granola Bars
Ingredients
Equipment
Method
- Preheat oven to 350°F (175°C). Spread oats and sunflower seeds on a baking sheet and toast for 8-10 minutes until golden and fragrant.
- In a saucepan over medium heat, whisk honey, peanut butter, and coconut oil until bubbling. Remove from heat and stir in vanilla.
- Mix toasted oats and seeds with the warm honey syrup in a large bowl. Let cool for 5 minutes, then fold in mini chocolate chips.
- Press the mixture firmly into a 8x8 pan lined with crumpled parchment paper. Top with salt flakes. Chill for 2 hours before slicing into rectangles.
Notes
Wait until the mixture cools slightly before adding chocolate chips so they don't melt.
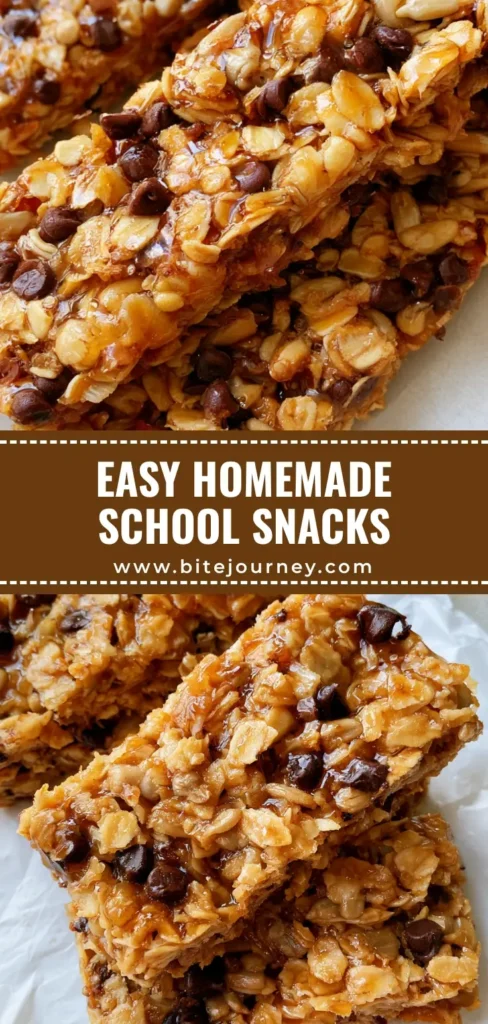
Save This Recipe to Pinterest!
If you love these Homemade Snacks for Kids, don’t forget to pin this recipe to your “Healthy Kids Snacks” or “Meal Prep Ideas” board! Following Bite_Journey on Pinterest helps us bring you more visual recipe blueprints like this one. If you make these, snap a photo and share it in the comments below—we love seeing your rustic, chunky granola bars! Please leave a 5-star rating if your family enjoyed this recipe.