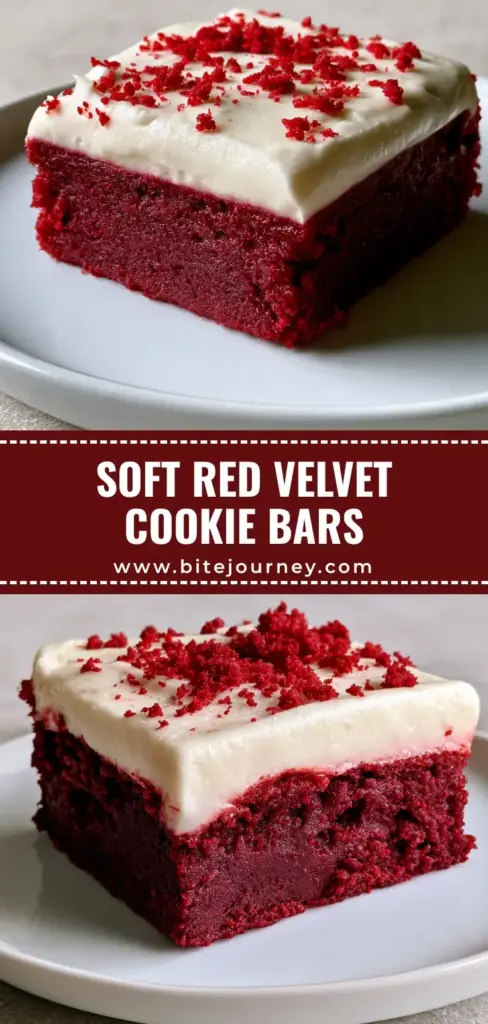
Red Velvet Cookie Bars are the ultimate dessert for anyone who craves the dense, chewy texture of a brownie combined with the iconic tang of a classic red velvet cake. These bars aren’t just another sweet treat; they are a visual masterpiece featuring a deep burgundy cookie base and a luscious, matte-finish white cream cheese frosting. Whether you are prepping for a holiday party or just need a decadent handheld snack, this recipe delivers professional results with minimal effort.
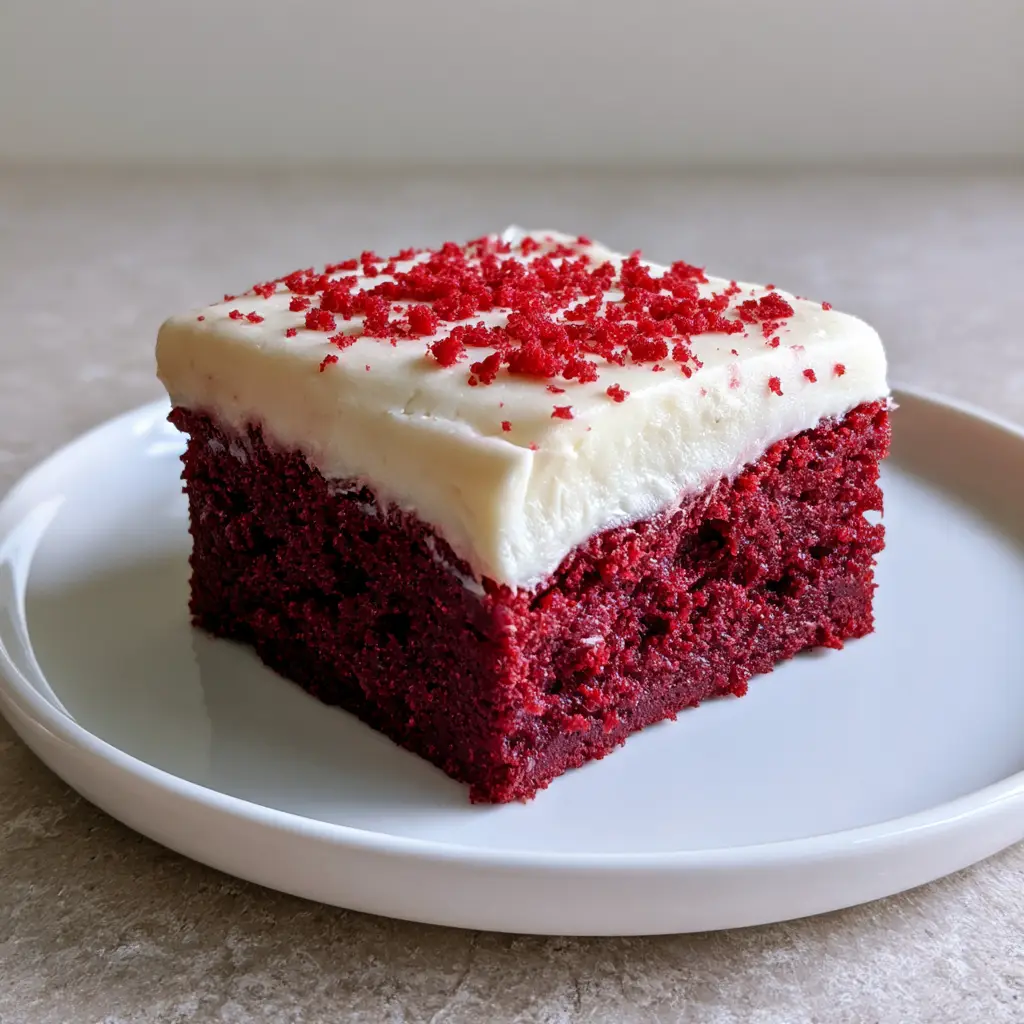
When you take your first bite, you’ll immediately notice the visible soft crumb structure that sets these apart from standard cookies. The contrast between the moist, one-inch thick base and the half-inch thick layer of smooth frosting creates a sensory experience that is both sophisticated and nostalgic. This recipe is designed to be Pinterest-perfect, ensuring every square you cut looks exactly like the artisanal treats found in high-end bakeries.
Why You Will Love These Dense Red Velvet Bars
- The Texture: A perfectly baked, one-inch thick base that is dense, moist, and incredibly chewy, avoiding the “cakey” texture of traditional red velvet.
- The Visual Contrast: The striking deep burgundy color of the cookie base popped against the stark white matte frosting makes these a viral-ready dessert.
- Perfectly Portioned: Unlike a tall cake, these bars are served as square cuts, making them ideal for handheld grazing and easy transport.
- The Finishing Touch: A sparse decorative dusting of tiny, bright red cookie crumbs provides a professional, “hand-touched” aesthetic that screams luxury.
If you enjoy these, you might also want to try our Strawberry Crunch Cheesecake Bites for another pink-hued, crowd-pleasing dessert option.
The Essential Ingredients for Red Velvet Perfection
Unsalted Butter (1 cup / 225g): We use softened butter to create a tender crumb. It provides the fat necessary for that signature melt-in-your-mouth feel.
Granulated Sugar (1.5 cups / 300g): This provides sweetness and helps the edges of the Red Velvet Cookie Bars get that slightly crisp, golden-brown finish.
Large Eggs (2): These act as the binder. We want the proteins to set the structure so the bars don’t crumble when you pick them up.
Red Food Gel (2-3 tsp): To achieve that specific deep burgundy color, professional-grade gel is superior to liquid coloring, as it doesn’t alter the moisture balance of the dough.
Unsweetened Cocoa Powder (2 tbsp / 15g): Red velvet isn’t chocolate, but it needs a hint of cocoa to achieve its unique flavor profile and help deepen the red hue to burgundy.
All-Purpose Flour (2.5 cups / 315g): The structural foundation. Measuring by weight (grams) is highly recommended for these bars to ensure they stay dense rather than airy.
Cream Cheese (8 oz / 225g): Ensure this is full-fat and at room temperature for the smooth, matte-finish frosting required by the visual blueprint.
Powdered Sugar (3 cups / 360g): This thickens the frosting, allowing us to spread it a full half-inch thick without it sliding off the base.
Preparation: Setting the Stage for Success
Step 1: The Creaming Process
Start by preheating your oven to 350°F (175°C). Line a 9×9 inch (23x23cm) square baking pan with parchment paper, leaving an overhang on the sides. This is a critical step for removing the bars later without breaking the moist crumb structure.
In a large mixing bowl, cream the softened butter and granulated sugar together for at least 3 minutes. You are looking for a pale, fluffy texture. Add the eggs one at a time, followed by the vanilla extract and the red food gel. Mix until the color is a uniform, vibrant red. Don’t worry if it looks too bright; the cocoa powder will deepen it to burgundy during the bake.
Step 2: Incorporating Dry Ingredients
Sift the flour, cocoa powder, and a pinch of salt together. Gradually add this to the wet ingredients. Mix on low speed until just combined. Over-mixing will develop gluten, turning your chewy Red Velvet Cookie Bars into tough bread. The dough should be thick, heavy, and a rich, dark red.
Step 3: Achieving the One-Inch Base
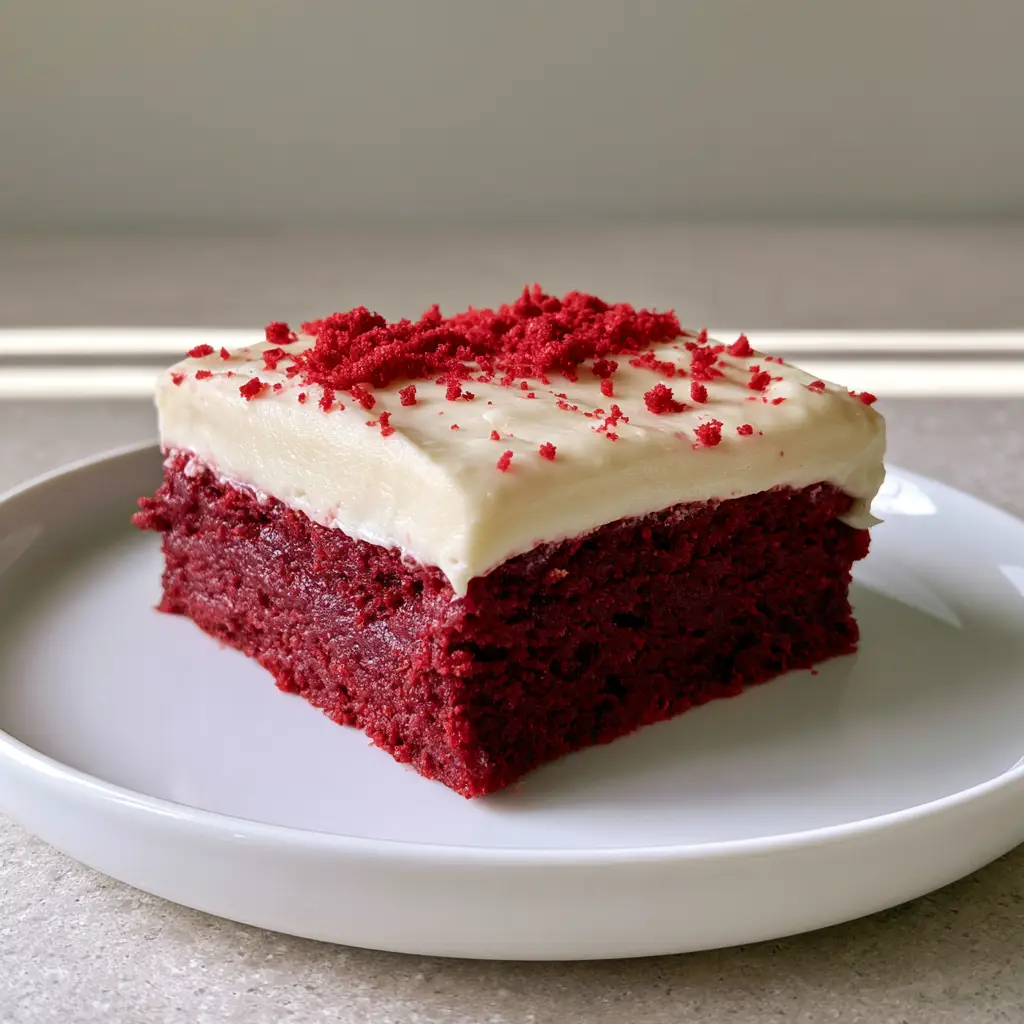
Press the dough firmly into the prepared pan. Use the bottom of a flat measuring cup to smooth the surface. Bake for 25-30 minutes. Visual Cue: The edges should be set, but the center should still have a slight “jiggle” when shaken. It will firm up as it cools, retaining that dense and moist interior.
Pro Tip: Once baked, take a sharp knife and trim a very thin layer off one of the edges. Crumble this piece into tiny bits and set them aside. These will be your bright red cookie crumbs for the final dusting.
If you’re looking for more comforting bakes, our Christmas Funfetti Bread offers a similar festive vibe for your holiday table.
The Art of the Cream Cheese Frosting
Creating the Half-Inch Layer
While the base cools completely (this is vital—frosting a warm bar will result in a melted mess), prepare the topping. Beat the room-temperature cream cheese and a half-cup of butter until smooth. Gradually add the powdered sugar and a splash of heavy cream if needed for spreadability.
The goal is a smooth, matte-finish white cream cheese frosting. It should be stiff enough to hold its shape. Spread it evenly over the cooled red velvet base. Use an offset spatula to ensure the layer is exactly half-inch thick from edge to edge.
The Final Decorative Dusting
Take those reserved cookie crumbs you prepared earlier. Sift them through your fingers, creating a sparse decorative dusting across the top of the white frosting. This adds a pop of color and tells the eater exactly what flavor profile to expect before they even take a bite.
Expert Tips for Bakery-Style Results
- Room Temperature Ingredients: Ensure your butter, eggs, and cream cheese are at room temperature to avoid a lumpy frosting or a broken cookie emulsion.
- The Clean Cut: For those perfect square-cut red velvet cookie bars, chill the frosted bars in the fridge for 2 hours before slicing. Use a hot, dry knife and wipe it clean between every single cut.
- Don’t Overbake: The “carry-over” cooking will finish the bars in the pan. If they look dry in the oven, they will be dry on the plate. Aim for a soft crumb structure.
- Gel vs. Liquid: Always use gel. Liquid colorings can make the dough too runny and won’t give you that deep burgundy color.
Need a savory break after all this sweetness? Check out our Bacon Cheese Fries for the perfect salty contrast.
Storage, Reheating, and Make-Ahead Instructions
Because of the high cream cheese content in the frosting, these Red Velvet Cookie Bars must be stored in the refrigerator. Place them in an airtight container with parchment paper between layers. They will stay fresh and moist for up to 5 days.
Can you freeze them? Yes! You can freeze the unfrosted base for up to 3 months. If freezing the frosted bars, flash-freeze them on a tray for 1 hour until the frosting is hard, then wrap them tightly in plastic wrap. Thaw in the refrigerator overnight before serving.
What to Serve With Red Velvet Cookie Bars
These bars are incredibly rich, so they pair best with beverages that offer a bit of acidity or bitterness to cleanse the palate. A cold glass of whole milk is the classic choice, but a sharp espresso or a Blackberry Gin Smash can provide a sophisticated adult pairing.
For a full dessert spread, consider serving these alongside classic peanut butter cookies to offer a variety of textures and flavor profiles to your guests.
Frequently Asked Questions
Liquid coloring is less concentrated and can add too much moisture to the dough. For the signature deep burgundy color and chewy texture, food gel is highly recommended.
Yes, because the frosting is made with real cream cheese and butter, the bars should be stored in an airtight container in the refrigerator to stay fresh.
Chill the frosted bars in the refrigerator for at least 2 hours. Use a long, sharp knife dipped in hot water and wiped dry between every cut for professional square edges.
The combination of a small amount of cocoa powder and red food gel creates that deep, dark burgundy shade rather than a bright, artificial pinkish red.
Cakey bars usually result from over-measuring flour or over-mixing the dough. To keep them dense, measure your flour by weight and mix until the dry ingredients are just incorporated.
The Ultimate Red Velvet Cookie Bar Recipe
Red Velvet Cookie Bars with Thick Cream Cheese Frosting
Ingredients
Equipment
Method
- Cream 1 cup butter and 1.5 cups sugar until fluffy. Add eggs and red gel, mixing until a deep burgundy hue is achieved.
- Fold in flour and cocoa powder until just combined, ensuring a dense crumb structure. Press into a 9x9 pan.
- Bake at 350°F (175°C) for 25-30 minutes until edges are set but center remains moist.
- Beat cream cheese, 0.5 cup butter, and powdered sugar until a smooth matte finish is achieved.
- Spread a half-inch thick layer of frosting over the cooled base and dust with tiny red cookie crumbs.
Notes
Always use food gel instead of liquid for a deeper color.
Join the Bite Journey Community!
We hope you love these Red Velvet Cookie Bars as much as we do! The combination of the deep burgundy base and the thick cream cheese frosting is truly a match made in heaven. If you make this recipe, please take a photo and share it with us in the comments below!
Don’t forget to save this recipe to your Pinterest boards so you can find it whenever the craving for a chewy red velvet treat hits. Follow Bite_Journey for more high-visual, high-flavor recipes every week. If you enjoyed this, please leave us a 5-star rating in the recipe card above—it helps our community grow!