Marshmallow Buttercream Frosting is the crowning jewel of the dessert world, offering a cloud-like texture that defies the heavy, cloying nature of traditional American frostings. This specific recipe creates a voluminous, glossy white marshmallow buttercream that looks as professional as it tastes. By incorporating toasted marshmallow bits and fine sugar crystals, we bridge the gap between a simple topping and a gourmet culinary experience. Whether you are piping delicate glossy vanilla frosting peaks onto a birthday cake or filling a batch of macarons, this frosting delivers a silky, aerated finish that holds its shape perfectly in any climate.
Why This Is the Best Marshmallow Buttercream Frosting You Will Ever Make
- Unbeatable Texture: We achieve voluminous, soft peaks that are incredibly silky and aerated, mimicking the lightness of a professional Swiss Meringue Buttercream.
- Toasted Flavor Profile: Unlike store-bought versions, we fold in real toasted marshmallow bits for a campfire-inspired depth.
- Stunning Visual Appeal: The contrast between the glossy white finish and the golden-brown toasted flecks makes every dessert Pinterest-worthy.
- Stability: This frosting is engineered to hold its structure, making it ideal for high-stack cakes and intricate piping.
Essential Ingredients for Success
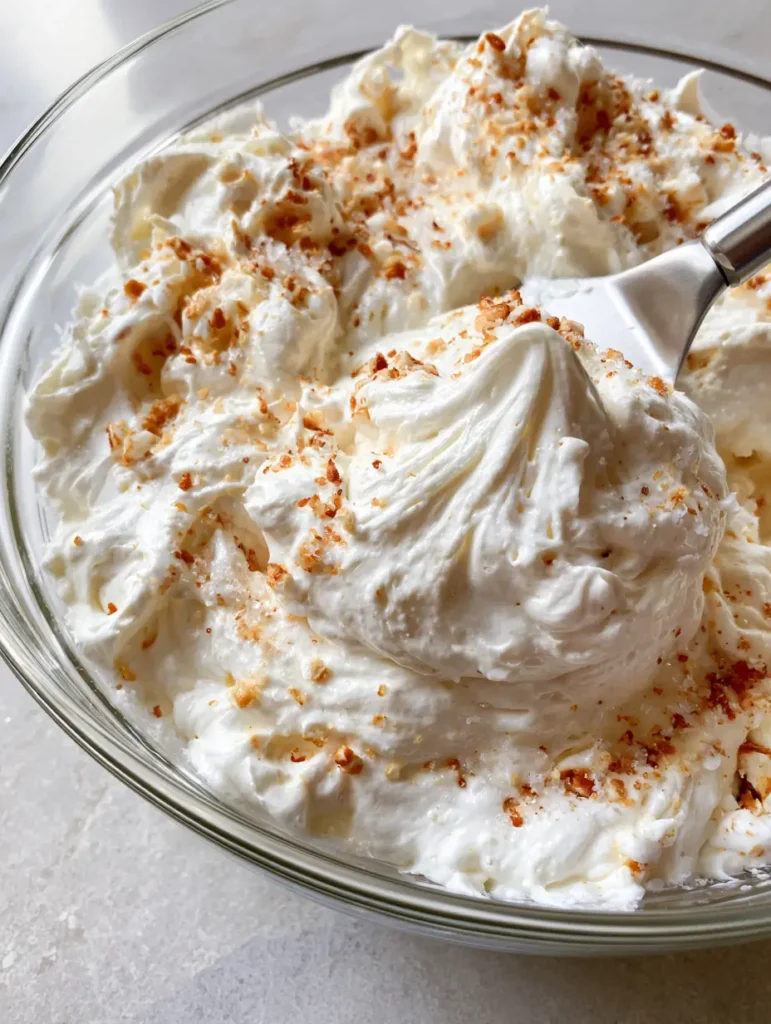
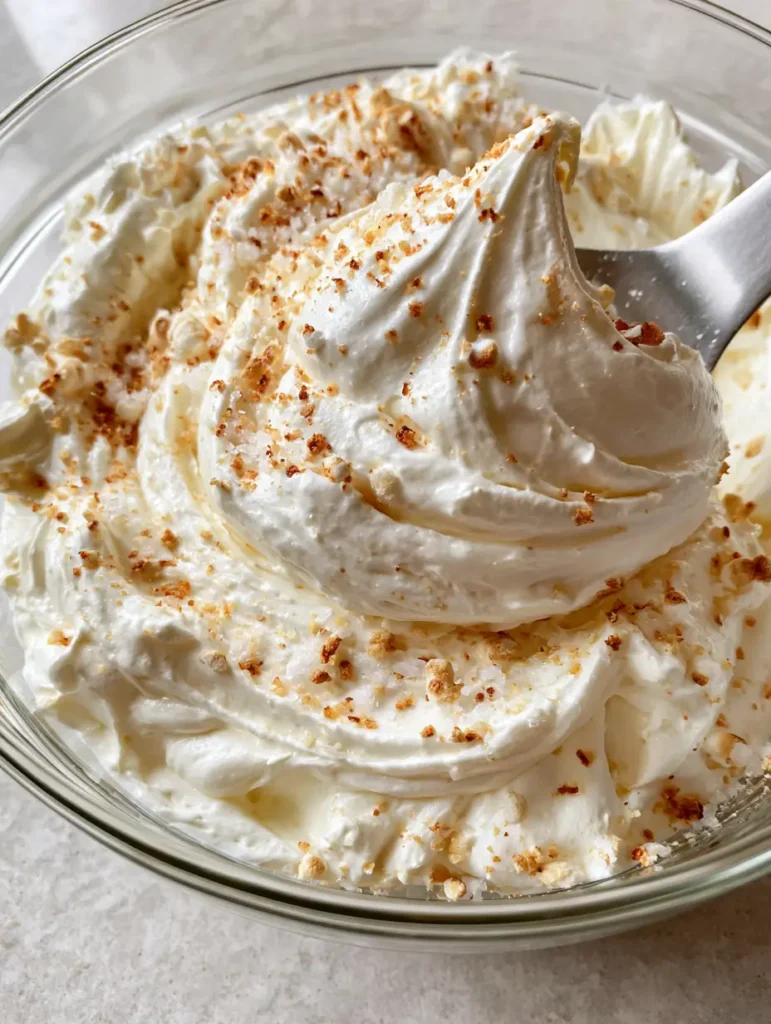
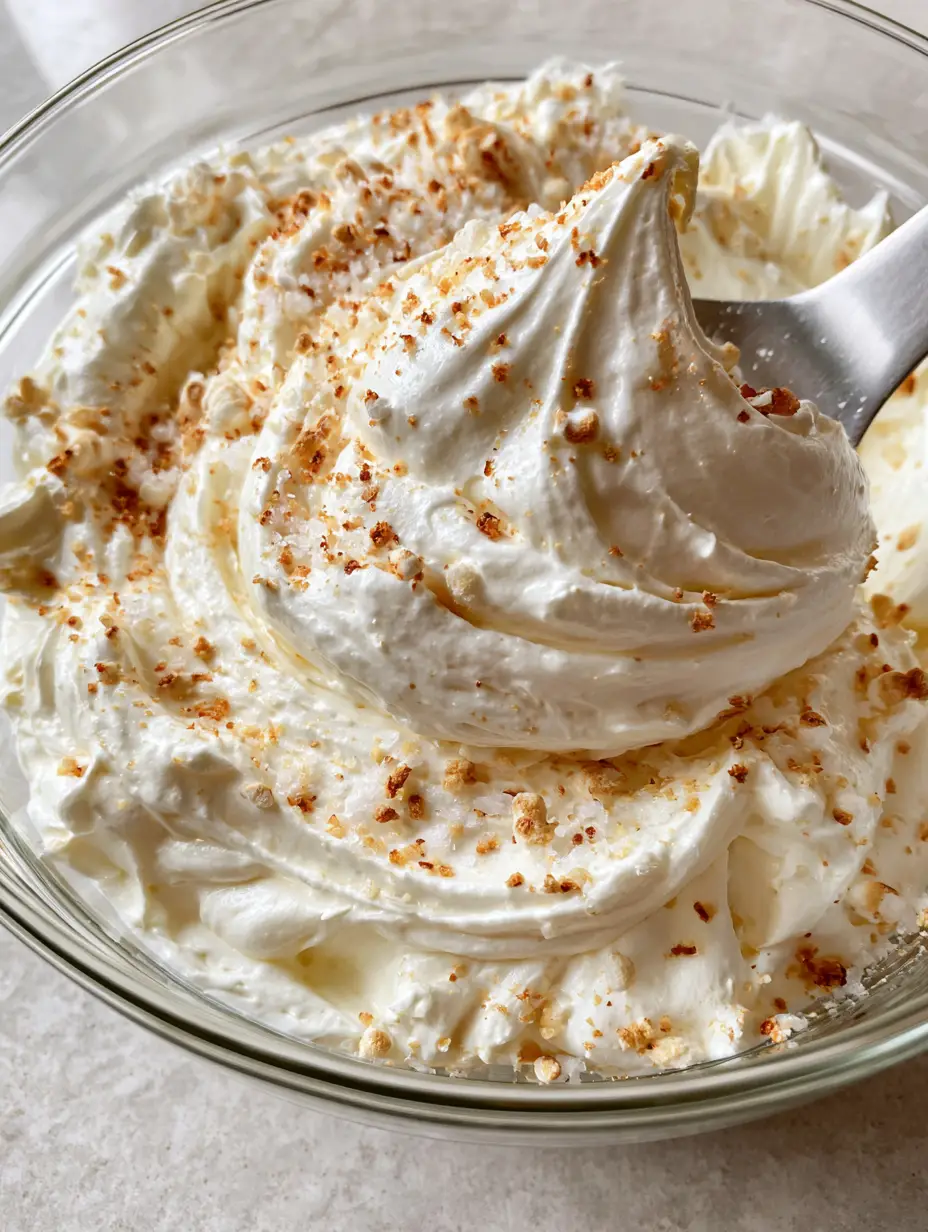
To achieve that thick, textured swirl seen in the mixing bowl, the quality and temperature of your ingredients are non-negotiable.
Unsalted Butter (2 cups / 450g): High-quality European-style butter provides the fat structure needed for glossy peaks. Ensure it is softened to 65°F (18°C).
Marshmallow Creme (7 oz / 198g): This provides the signature marshmallow flavor and the “stretch” that makes Marshmallow Buttercream Frosting so unique.
Powdered Sugar (4 cups / 500g): Sifted fine to ensure there is zero grittiness in your silky and aerated texture.
Mini Marshmallows (1 cup / 50g): These will be toasted and chopped to create those iconic toasted marshmallow bits.
Fine White Sugar Crystals (2 tbsp): Added at the very end to provide a subtle crunch and a shimmering visual finish.
Heavy Cream (2 tbsp / 30ml): Used to adjust the final consistency for the perfect thick, textured swirl.
Vanilla Bean Paste (1 tbsp): Adds those beautiful black flecks and a deep, authentic vanilla aroma.
The Science of the Perfect Marshmallow Swirl
Step 1: Toasting the Marshmallows for Maximum Flavor
To get those golden-brown toasted marshmallow bits, spread your mini marshmallows on a parchment-lined sheet.
Use a kitchen torch to quickly blister the marshmallows until they are charred and fragrant. Alternatively, place them under a broiler for 30-60 seconds.
Allow them to cool completely before finely chopping. This prevents the heat from melting your Marshmallow Buttercream Frosting base.
Step 2: Creating the Aerated Butter Base
In a clear glass mixing bowl, beat the softened butter on medium-high speed for at least 5 minutes.
You are looking for the butter to turn almost white in color. This aeration is the secret to voluminous, soft peaks.
Scrape the sides of the bowl frequently with a silver metal spatula to ensure no dense butter pockets remain.
Step 3: Incorporating the Marshmallow Creme
Add the marshmallow creme to the whipped butter. Beat on medium speed until the mixture looks glossy and thick.
This is where the frosting transforms from a standard buttercream into a true Marshmallow Buttercream Frosting.
If you enjoy experimenting with different flavor profiles, you might also love our Honey Buttercream Frosting for a more floral sweetness.
Step 4: Sifting and Folding
Slowly add the powdered sugar one cup at a time. Start the mixer on the lowest setting to avoid a “sugar cloud.”
Once incorporated, crank the speed back up to high for 2 minutes to achieve that silky and aerated texture.
Add your vanilla bean paste and heavy cream, adjusting the cream until you reach the desired “piping” stiffness.
Step 5: The Final Visual Touches
Gently fold in the chopped toasted marshmallow bits using your spatula.
Transfer the frosting to your serving bowl or piping bag. Sprinkle the fine white sugar crystals over the top for that “diamond dust” effect.
The result should be glossy vanilla frosting peaks that hold their shape even in Russian Buttercream style piping tips.
Expert Tips for the Fluffiest Frosting
- Temperature Control: If your kitchen is too warm, your frosting will lose its glossy white sheen and become greasy. Chill the bowl for 10 minutes if this happens.
- The Spatula Test: Lift your silver metal spatula out of the bowl. The frosting should form a thick, textured swirl that doesn’t collapse.
- Avoid Over-Mixing: Once you add the toasted bits, fold by hand to keep the toasted marshmallow bits distinct and visible.
- Sift Your Sugar: Marshmallow creme is sticky; any lumps in your powdered sugar will be magnified in this recipe.
Storage, Reheating, and Make-Ahead Instructions
Marshmallow Buttercream Frosting can be made up to 5 days in advance. Store it in an airtight container in the refrigerator.
To reuse, bring it to room temperature and re-whip it for 2 minutes to restore the voluminous, soft peaks.
Do not microwave the frosting, as the marshmallow creme will expand and ruin the silky and aerated texture.
You can freeze this frosting for up to 3 months. Thaw overnight in the fridge before re-whipping.
Best Pairings for This Frosting
This frosting is incredibly versatile. It pairs beautifully with rich chocolate cakes or light vanilla sponges.
If you’re looking for a tropical twist, consider pairing it with a cake featuring Coconut Buttercream (coming soon) layers for a “mound” cake effect.
For a unique brunch dessert, serve a dollop of this atop a Hawaiian Cheesecake Salad for an extra layer of sweetness.
Frequently Asked Questions
While you can melt marshmallows, marshmallow creme provides a more stable, glossy white finish and a smoother texture that is less likely to become grainy.
Yes, because of the butter and marshmallow creme, it is best to store the frosted cake in the refrigerator, especially in warm climates.
You can place mini marshmallows under your oven’s broiler for 30-60 seconds until they are blistered and golden brown, then cool and chop.
Absolutely. Thanks to the marshmallow creme, this frosting is very stable and holds fine details like glossy vanilla frosting peaks and petals beautifully.
This usually happens if your butter was too soft or the room is too warm. Chill the frosting for 15 minutes and re-whip it to restore its voluminous, soft peaks.
The Ultimate Marshmallow Buttercream Frosting Recipe
Marshmallow Buttercream Frosting: The Ultimate Glossy Toasted Recipe
Ingredients
Equipment
Method
- Spread mini marshmallows on parchment. Use a kitchen torch to blister them until golden brown. Let cool and chop finely.
- Whip softened butter in a stand mixer for 5 minutes until pale and voluminous.
- Add marshmallow creme and vanilla bean paste. Beat until glossy and well combined.
- Slowly add sifted powdered sugar. Increase speed to high and whip for 2 minutes to achieve a silky, aerated texture.
- Fold in the toasted marshmallow bits. Sprinkle with fine sugar crystals before serving.
Notes
Use a silver metal spatula to check for glossy vanilla frosting peaks.
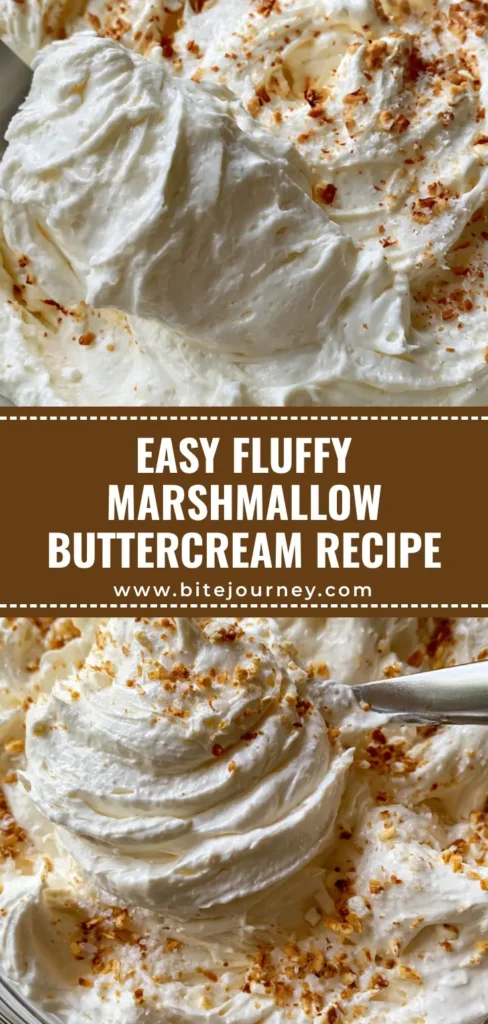
Save This Recipe to Pinterest!
Did you love the glossy white marshmallow buttercream and those toasted marshmallow bits? Don’t lose this recipe!
Click the “Pin” button to save this to your Dessert Recipes board. Follow @Bite_Journey for more bakery-style secrets!
If you make this, please leave a 5-star rating in the recipe card above and upload a photo of your glossy vanilla frosting peaks in the comments below. Seeing your creations makes our day!