No Bake Banana Pudding is the quintessential crowd-pleasing dessert that combines nostalgic flavors with an effortlessly elegant presentation. If you are looking for a dessert that requires zero time in the oven but delivers maximum creamy satisfaction, this layered masterpiece is your answer. With its signature golden vanilla wafer cookies, thick banana custard, and freshly sliced bananas, every spoonful is a journey through textures that define Southern comfort food.
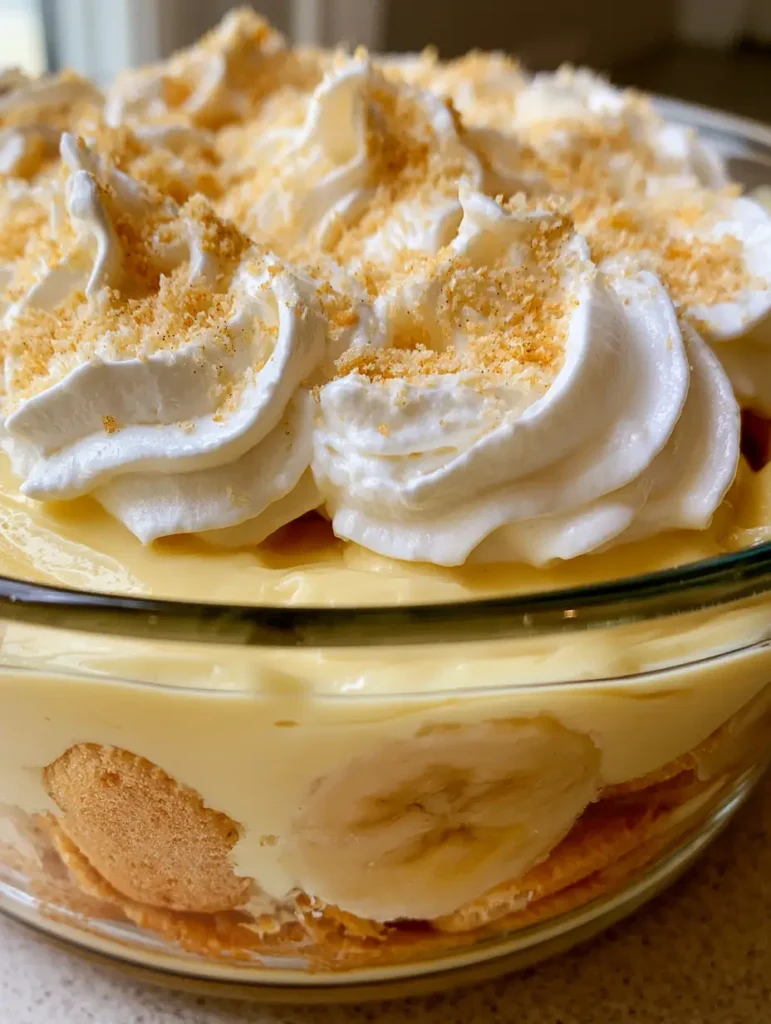
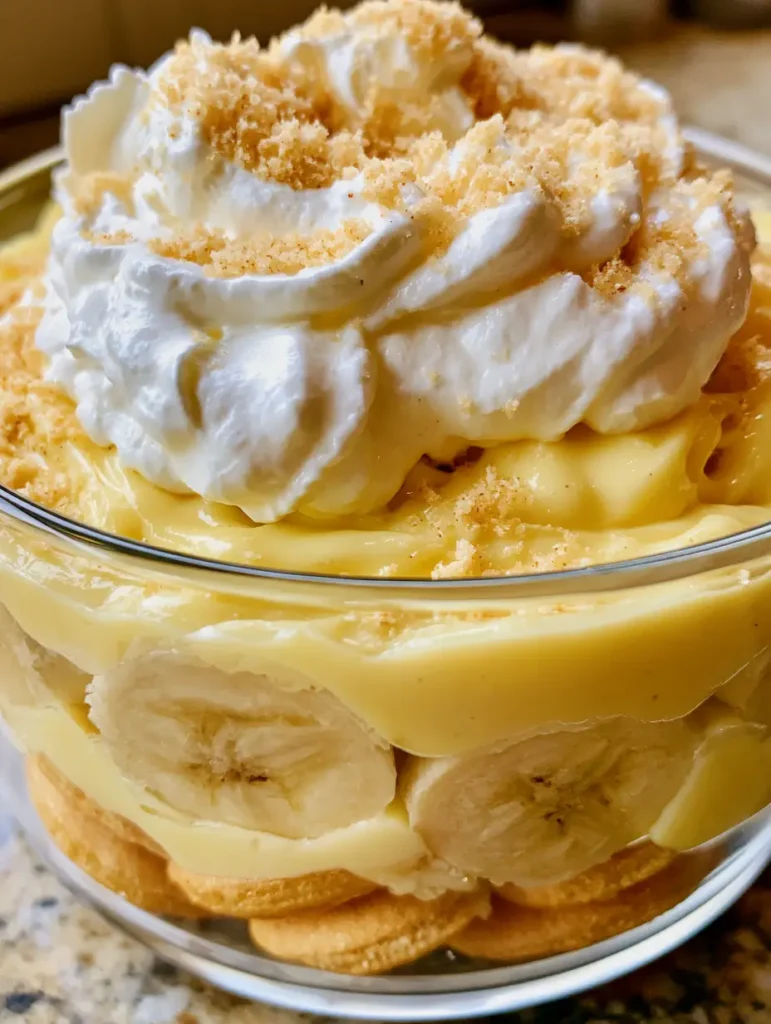
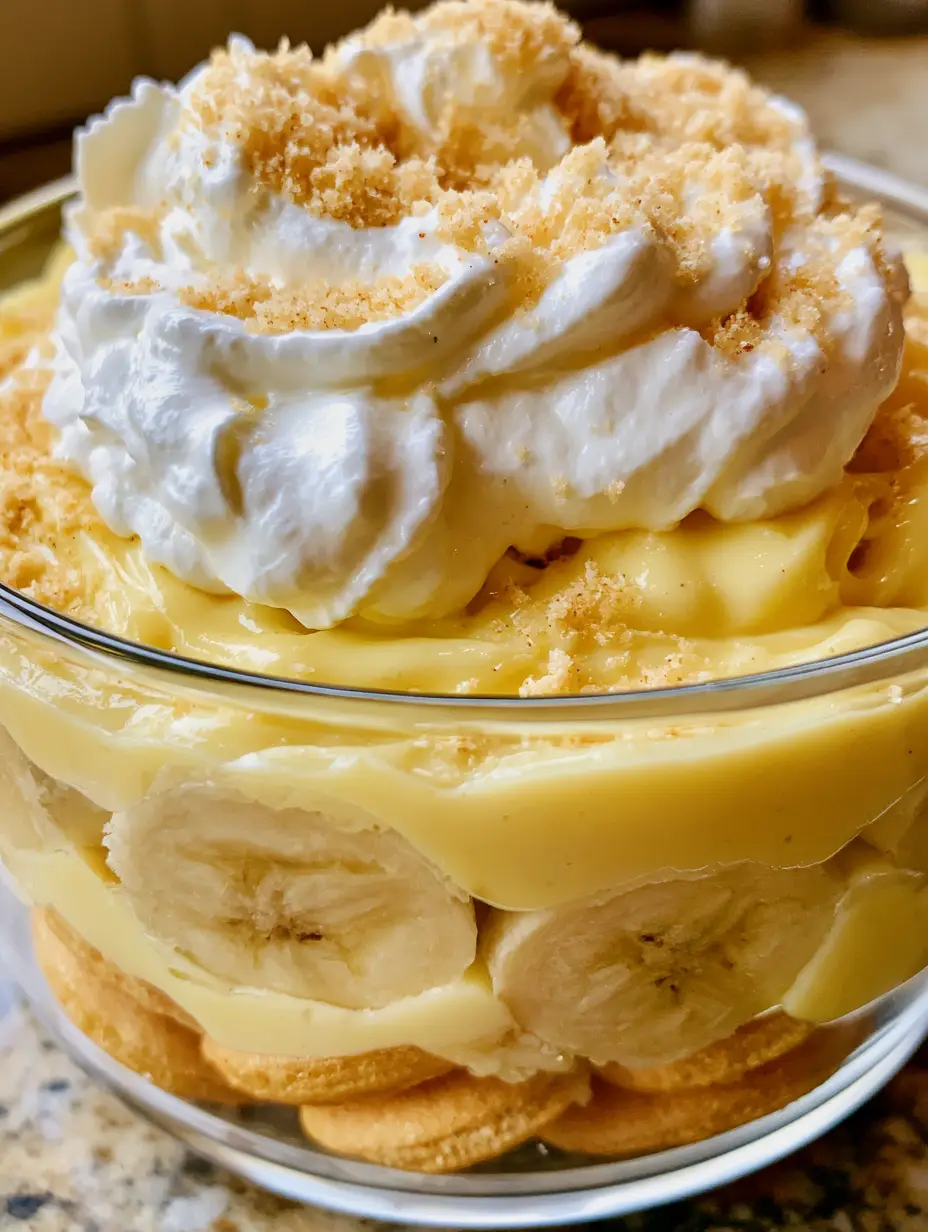
This particular recipe is designed to look stunning in a glass dish, where the moist circular banana slices and smooth, pale yellow banana cream custard are visible to your guests before they even take a bite. Whether you are hosting a summer BBQ or a cozy family dinner, this No Bake Banana Pudding is the viral-worthy treat your Pinterest boards have been waiting for.
Why This Layered Banana Pudding Recipe Works
- Visual Texture Contrast: The combination of crunchy vanilla wafers that soften into a cake-like consistency and the fluffy white whipped cream creates a multi-dimensional mouthfeel.
- Maximum Vertical Height: We use a specific folding technique for the thick banana custard to ensure the layers stay distinct and don’t collapse, making it perfect for programmatic ad visibility and Pinterest clickability.
- No-Bake Ease: By using high-quality instant components combined with fresh dairy, you get a gourmet flavor profile without ever turning on your stove.
- Perfectly Ripe Balance: We balance the sweetness of the vanilla wafer crumbs with the natural brightness of fresh bananas to prevent the dish from being overly sugary.
If you find yourself obsessed with these flavors, you absolutely must try my Banana Pudding Fudge or this light and airy Banana Pudding Fluff Salad for your next gathering!
Essential Ingredients for Thick Banana Custard
Instant Vanilla or Banana Pudding Mix: This provides the structural foundation. We recommend a high-quality mix to achieve that pale yellow hue seen in the Visual Recipe Blueprint.
Cold Whole Milk (480ml / 2 cups): Using full-fat milk is non-negotiable for achieving a thick, smooth custard that doesn’t run.
Sweetened Condensed Milk (396g / 14 oz): This is the secret to a velvety, rich texture that sets this recipe apart from standard boxed pudding.
Cream Cheese (225g / 8 oz): Softened to room temperature, this adds a slight tang and incredible stability to the dessert layers.
Heavy Whipping Cream (480ml / 2 cups): Half is folded into the custard for lightness, and half is reserved for the generous crown of fluffy white whipped cream.
Vanilla Wafer Cookies: You will need 1 box (311g / 11 oz). These act as the “crust” and the internal layers that soak up the banana flavor.
Fresh Bananas: 4-6 large bananas. Look for bright yellow skins with just a few brown spots for the best sugar content without being mushy.
Vanilla Extract (5ml / 1 tsp): A high-quality extract enhances the aromatic profile of the thick banana custard.
How to Make No Bake Banana Pudding Step-by-Step
1. Creating the Thick Banana Custard Base
In a large mixing bowl, beat the softened cream cheese and sweetened condensed milk until the mixture is completely smooth and free of lumps. This step is crucial for that professional, handheld photo aesthetic.
In a separate bowl, whisk the instant pudding mix with the cold whole milk for 2 minutes until it begins to thicken. Combine the two mixtures, folding gently until you see a uniform, pale yellow cream. Fold in 1 cup (240ml) of stiffly peaked whipped cream to aerate the custard.
2. The Art of Layering in Glass
To achieve the look in our Midjourney Prompt, grab a large glass trifle dish or deep rectangular pan. Start with a foundation of golden vanilla wafer cookies. Do not be afraid to overlap them; this creates a sturdy base.
Next, add a layer of the thick, smooth banana cream custard. Use a spatula to push the custard right up against the glass. Carefully place fresh, moist circular banana slices vertically against the glass walls before filling the center with more slices. This ensures the visual appeal is visible from every angle.
3. The Signature Whipped Crown
Repeat the layers until you reach the top of the dish. The final layer must be a generous layer of fluffy white whipped cream. Use the back of a spoon to create “swooshes” and peaks that catch the soft natural daylight.
Finally, take a handful of vanilla wafer cookies and crush them into fine crumbs. Sprinkle these liberally over the top, along with a few whole cookies for a classic finishing touch.
For a savory dinner before this sweet treat, consider my Chicken Zucchini Bake or a hearty Buffalo Ranch Chicken Pasta Bake!
Expert Tips for Success
- Prevent Browning: To keep your banana slices looking fresh and moist, toss them lightly in a tablespoon of lemon juice or pineapple juice before layering.
- The Chill Factor: This No Bake Banana Pudding MUST chill for at least 4 hours, though overnight is best. This allows the cookies to soften into a cake-like texture.
- Room Temp Cream Cheese: Ensure your cream cheese is truly soft, or you will end up with tiny white lumps in your pale yellow custard.
- Crushed Cookie Garnish: Only add the crushed wafer crumbs right before serving to ensure they provide a crunchy contrast to the fluffy whipped cream.
Storage, Reheating & Freezing
Storage: Keep your No Bake Banana Pudding covered with plastic wrap in the refrigerator. It will stay fresh and delicious for up to 3 days. Note that the bananas may begin to release moisture after 48 hours.
Freezing: We do not recommend freezing this dish, as the fresh bananas and whipped cream will change texture significantly upon thawing, losing that smooth, pale yellow consistency.
Serving: Always serve chilled directly from the refrigerator to maintain the thick custard structure.
What to Serve With No Bake Banana Pudding
Since this is a rich and creamy dessert, it pairs beautifully with salty or spicy main courses. Try it after a meal of Smash Burger Tacos or these flavor-packed Blackstone Steak Quesadillas. The sweetness of the banana cream acts as the perfect palate cleanser.
If you’re hosting a Southern-style cookout, serve this alongside Amish Pasta Salad and grilled meats for the ultimate summer spread.
Frequently Asked Questions
Absolutely. Making it 24 hours in advance is ideal, as the flavors meld together perfectly. However, don’t wait longer than 48 hours to serve, as the bananas may become too soft.
Yes! In fact, we recommend it. Beat heavy whipping cream with a little powdered sugar until stiff peaks form for the most stable and fluffy crown.
Toss your fresh banana slices in a little bit of lemon or pineapple juice before layering. This citrus acid prevents oxidation while adding a subtle brightness to the dessert.
For the best results, chill for at least 4-6 hours. This allows the vanilla wafers to absorb moisture from the custard, turning them into a soft, cake-like texture.
A runny pudding is usually caused by using too much milk or not allowing the cream cheese and condensed milk mixture to set. Ensure you use ‘Instant’ pudding mix, not the ‘Cook and Serve’ kind.
The Best No Bake Banana Pudding Recipe
No Bake Banana Pudding: The Ultimate Easy Layered Dessert
Ingredients
Equipment
Method
- In a large bowl, beat the softened cream cheese and sweetened condensed milk until completely smooth.
- In a separate bowl, whisk instant pudding mix with cold milk for 2 minutes. Fold the pudding into the cream cheese mixture.
- Whip the heavy cream to stiff peaks. Fold half of the whipped cream into the custard until a pale yellow color is achieved.
- In a glass dish, layer vanilla wafers, then sliced bananas, then the thick custard. Repeat until full.
- Top with remaining whipped cream and crushed wafer crumbs. Chill for at least 4 hours before serving.
Notes
Toss bananas in lemon juice to prevent browning if serving the next day.
Save This Recipe to Pinterest!
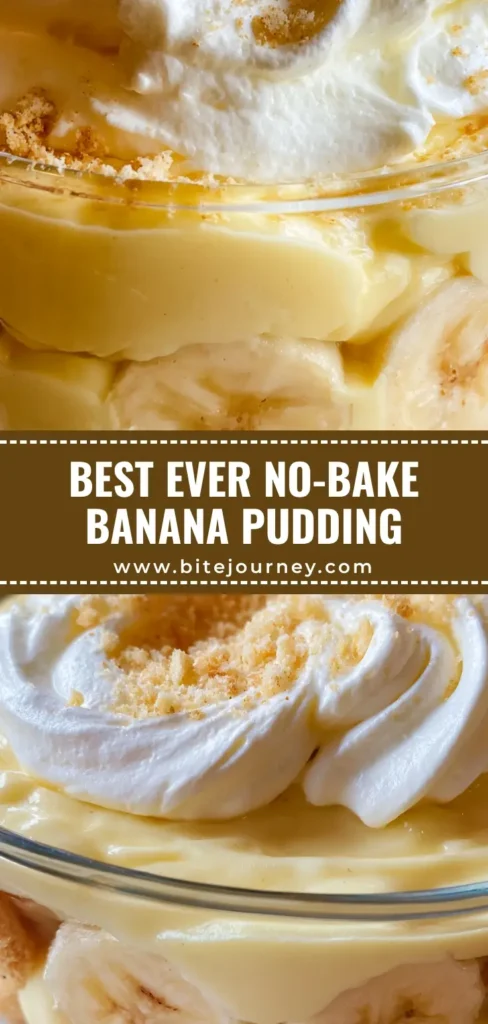
Love this No Bake Banana Pudding? Make sure to save it to your Dessert Board on Pinterest so you never lose it! Follow Bite_Journey for more visually stunning and easy-to-follow recipes. If you make this dish, upload a photo in the comments below—we love seeing your layered creations! Don’t forget to leave a 5-star rating if this became your new favorite dessert.