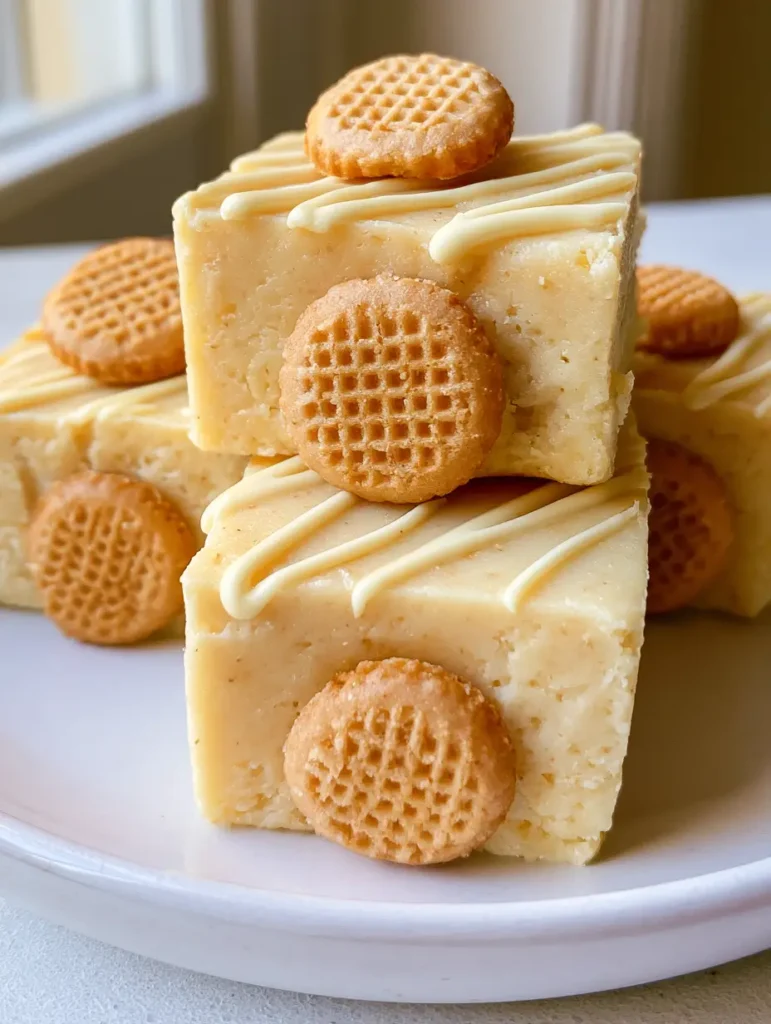
If you are looking for the most decadent, crowd-pleasing treat to hit your dessert table this year, look no further than this Banana Pudding Fudge. This isn’t just your average fudge recipe; it is a creamy, pale yellow masterpiece that captures the nostalgic flavor of a classic banana pudding in a dense, bite-sized square. Perfectly smooth and matte in texture, each piece is topped with a whole mini vanilla wafer and finished with a delicate white chocolate drizzle that makes it look like it came straight from a high-end boutique bakery.
Whether you are a fan of traditional no-bake banana pudding or you just need a reliable, high-impact recipe for your next gathering, this fudge delivers on every front. The combination of the melt-in-your-mouth base and the iconic crunch of the wafer cookie creates a sensory experience that Pinterest users absolutely obsess over. Get ready to save this one, because once you see that creamy pale yellow banana fudge base, you won’t be able to resist making it immediately.
Why This No-Bake Banana Pudding Fudge Is a Viral Sensation
- Unbeatable Texture: We achieve a dense smooth texture that isn’t grainy or overly sticky, making it the perfect handheld treat.
- Visual Appeal: The contrast between the matte yellow fudge and the melted white chocolate drizzle is a photographer’s dream.
- Flavor Nostalgia: It tastes exactly like the classic southern dessert but in a concentrated, rich fudge form.
- Zero Baking Required: This is a true no-bake hero, keeping your kitchen cool and your prep time under 15 minutes.
If you love the flavor profile of this recipe, you might also want to check out our Banana Pudding Fluff Salad for another airy, fruit-forward option, or try these Nutella Banana Muffins for a decadent breakfast twist.
The Essential Ingredients for Creamy Banana Fudge
To ensure your Banana Pudding Fudge has that signature professional finish, the quality of your ingredients matters. Here is what you will need to gather:
The Fudge Base
White Chocolate Chips: 3 cups (510g). These provide the structural foundation. Use a high-quality brand for the smoothest melt and best flavor profile.
Sweetened Condensed Milk: 1 can (14oz / 397g). This is the “glue” of the fudge, providing that dense smooth texture we are looking for without needing a candy thermometer.
Instant Banana Cream Pudding Mix: 1 package (3.4oz / 96g). This gives us the creamy pale yellow banana fudge base and that unmistakable pudding flavor.
Vanilla Extract: 1 teaspoon (5ml). A splash of high-quality vanilla rounds out the sweetness and adds depth to the banana notes.
Fine Sea Salt: 1/4 teaspoon (1.5g). Just a pinch to balance the sugar and make the banana flavor “pop.”
The Toppings
Mini Vanilla Wafers: Approx. 25-36 cookies. These provide the essential “crunch” and visual cue that this is a banana pudding inspired treat.
White Chocolate Melting Wafers: 1/4 cup (45g). Used for the final melted white chocolate drizzle to give it that zig-zag professional finish.
For those who enjoy a bit of chocolate with their fruit, our Nutella Banana Swirl Muffins offer a similar flavor harmony that is hard to beat.
Step-by-Step Instructions for the Perfect Set
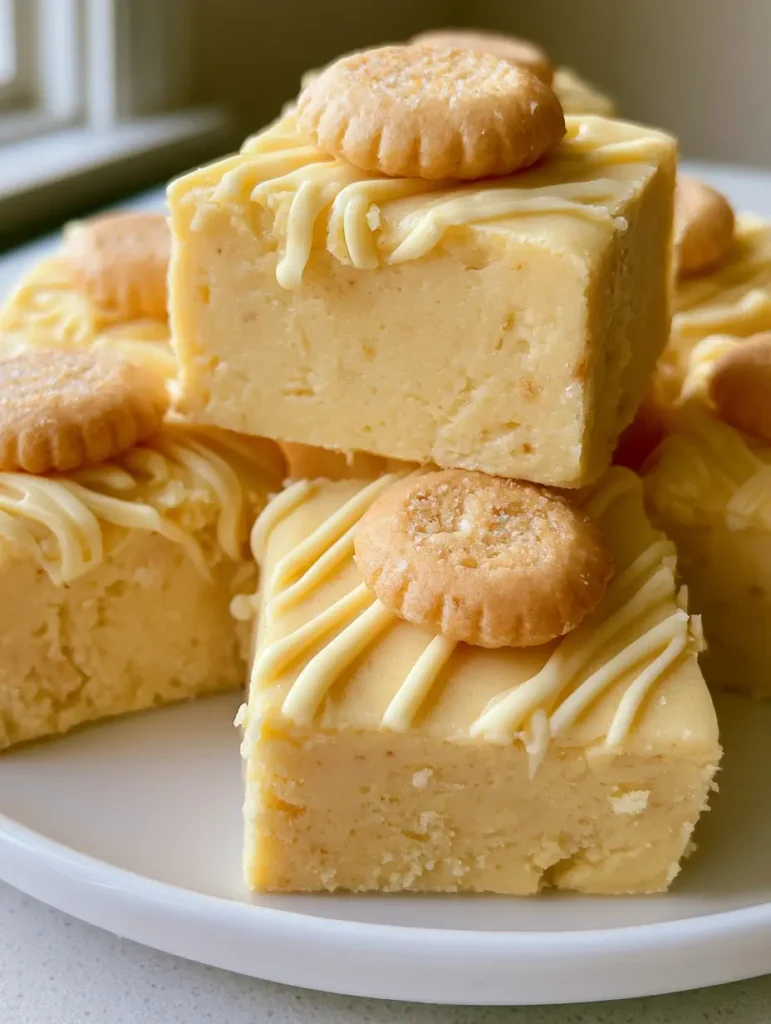
Follow these steps closely to ensure your fudge sets up perfectly with that characteristic matte finish seen in our photos.
Step 1: Prep the Pan and Melt the Base
Line an 8×8 inch (20×20 cm) square pan with parchment paper, leaving an overhang on the sides for easy removal later. This is crucial for clean edges when slicing.
In a large microwave-safe bowl, combine the 3 cups (510g) of white chocolate chips and the 14oz (397g) can of sweetened condensed milk. Heat in 30-second intervals, stirring vigorously in between, until the mixture is completely smooth and glossy.
Step 2: Incorporate the Flavor
Once the chocolate is melted, quickly whisk in the dry instant banana cream pudding mix, vanilla extract, and salt. You will notice the mixture begin to thicken almost immediately. Stir rapidly to ensure no lumps of pudding powder remain, resulting in a perfectly uniform creamy pale yellow banana fudge base.
Step 3: Mold and Garnish
Pour the mixture into your prepared pan, using an offset spatula to smooth the top into an even layer. While the fudge is still soft, gently press whole mini vanilla wafers into the top in a grid pattern. Space them so that each cut square will have a single wafer centered on top.
Step 4: The Finishing Drizzle
Melt your white chocolate melting wafers in a small bowl. Transfer the chocolate to a piping bag or a small Ziploc bag with a tiny corner snipped off. Create a thin, zig-zag drizzle across the entire pan, going over the wafers and the fudge base. This adds that “bakery-style” visual flair that Pinterest users love to save.
Step 5: The Chill and Slice
Refrigerate the fudge for at least 2 to 3 hours, or until completely firm. Once set, lift the fudge out using the parchment overhang. Use a sharp, warm knife to cut into thick squares. For the cleanest cuts, wipe the knife clean between every single slice.
If you are in the mood for something even more indulgent, our Hot Fudge Brownie Bread (coming soon) is another fantastic way to satisfy a serious sweet tooth.
Expert Tips for Pinterest-Perfect Fudge
- Don’t Overheat: White chocolate is temperamental. Use low heat or short microwave bursts to prevent the fat from separating, which can ruin the dense smooth texture.
- The Knife Trick: For those perfectly straight edges, dip your knife in hot water and dry it before each cut. This creates a professional look every time.
- Sifting the Pudding: If your pudding mix seems clumpy in the box, sift it through a fine-mesh strainer before adding it to the chocolate.
- Room Temp Milk: If possible, let your sweetened condensed milk come to room temperature so it doesn’t seize the melted chocolate too quickly.
Storage, Freezing, and Make-Ahead Instructions
Storage: This Banana Pudding Fudge keeps beautifully in an airtight container in the refrigerator for up to 2 weeks. For the best texture, let it sit at room temperature for 10 minutes before serving.
Freezing: You can freeze this fudge for up to 3 months. Wrap the entire block or individual squares tightly in plastic wrap, then place them in a freezer-safe bag. Thaw overnight in the fridge before serving.
Make-Ahead: This is a perfect make-ahead dessert because it actually benefits from a long chill time. Make it 24 hours in advance for the best “matte” appearance and firmest bite.
What to Serve With Your Banana Fudge
This fudge is incredibly rich, so it pairs best with items that offer a bit of contrast. Serve it alongside a fresh fruit platter or as part of a larger dessert spread featuring our No-Bake Banana Pudding for a themed party.
If you’re hosting a savory-to-sweet event, start your guests off with something bold like our BBQ Chicken Nachos or Smash Burger Tacos, using the fudge as the ultimate sweet finisher.
Frequently Asked Questions
No, you must use Instant pudding mix. Cook and Serve pudding requires heat and liquid to thicken correctly, and it will not set properly in this fudge recipe.
Yes, you can, but you may need to crush them slightly or cut the fudge into larger squares to accommodate the size of the cookie. Mini wafers fit perfectly on standard bite-sized squares.
Yes, because of the dairy in the sweetened condensed milk and the pudding mix, it is best to store this fudge in the refrigerator to maintain its dense, smooth texture.
White chocolate is sensitive to high heat and moisture. Ensure your bowl and spatula are bone-dry and heat in short 30-second intervals at 50% power if your microwave is very strong.
This usually happens if the white chocolate wasn’t melted fully or if the ratio of chocolate to milk was off. Ensure you use the full 3 cups of chips and chill for at least 3 hours.
The Complete Banana Pudding Fudge Recipe
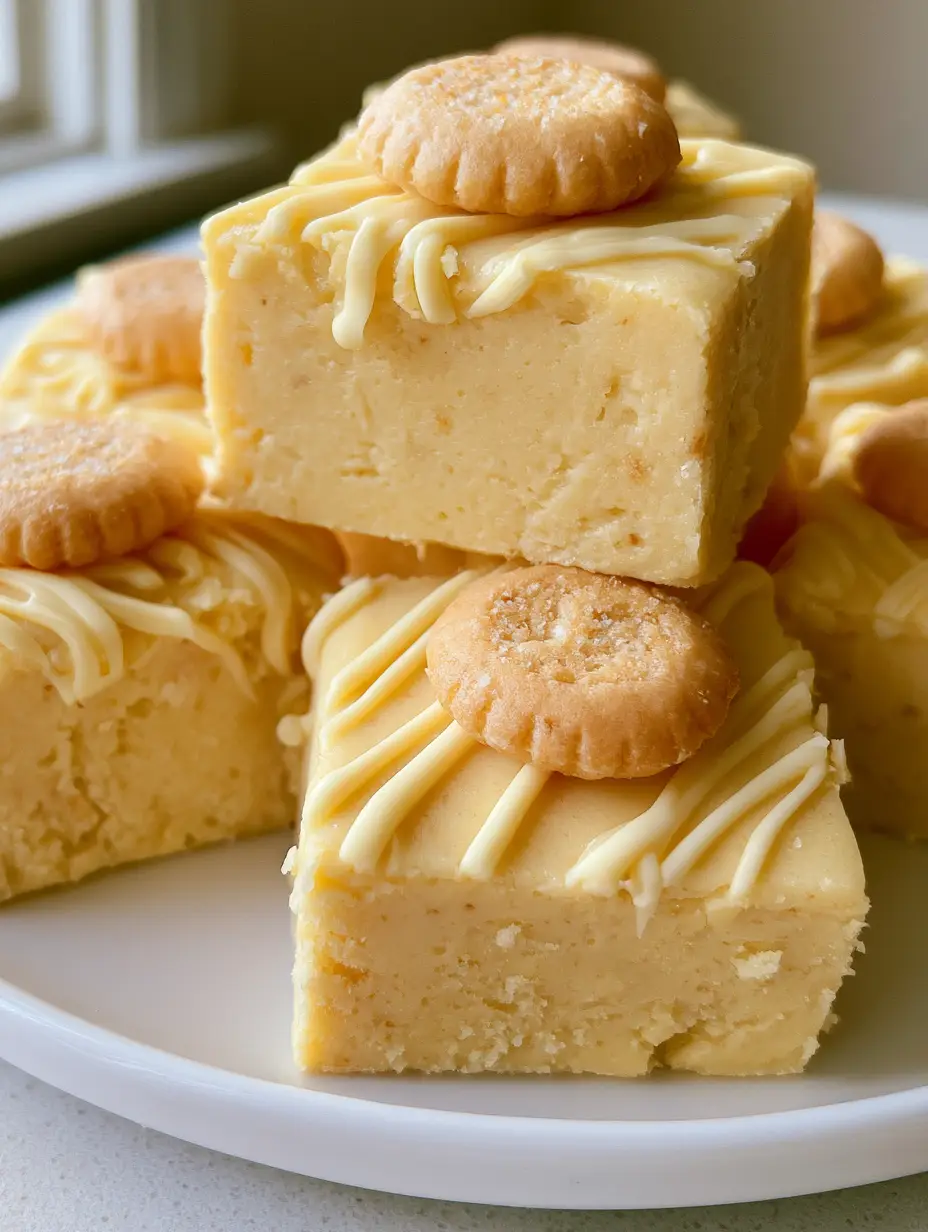
Banana Pudding Fudge: The Ultimate No-Bake Creamy Dessert
Ingredients
Equipment
Method
- Line an 8x8 inch square pan with parchment paper, leaving an overhang on two sides.
- In a large microwave-safe bowl, combine white chocolate chips and sweetened condensed milk. Heat in 30-second bursts, stirring until completely smooth.
- Quickly stir in the dry pudding mix, vanilla, and salt until fully incorporated and the mixture is a creamy pale yellow.
- Pour the mixture into the prepared pan and smooth the top with a spatula.
- Press whole mini vanilla wafers into the top of the fudge in a grid pattern. Drizzle with melted white chocolate zig-zags.
- Refrigerate for at least 2-3 hours until firm. Slice into thick squares using the mini wafers as a guide.
Notes
Ensure you use 'Instant' pudding mix, not the 'Cook and Serve' variety.
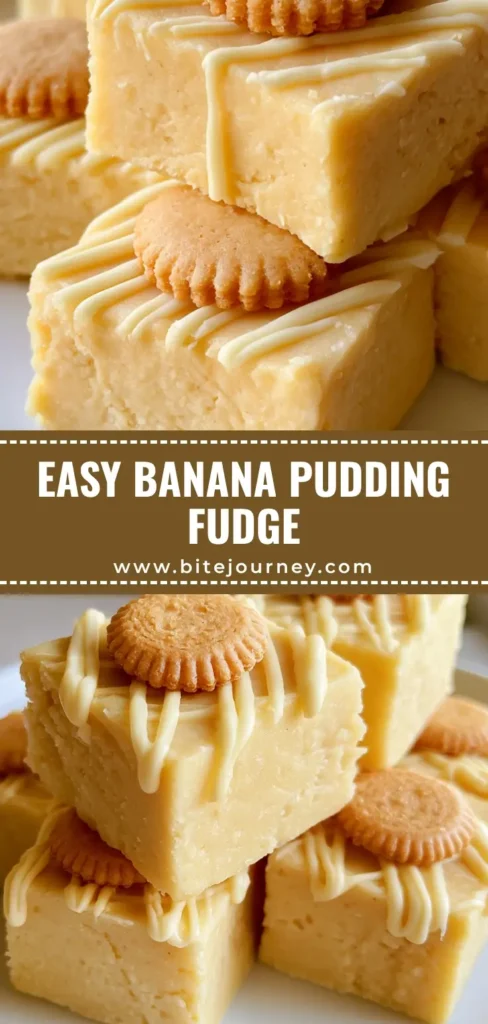
Join the Community & Save!
Did you make this Banana Pudding Fudge? We want to see your beautiful creamy pale yellow squares! Please leave a 5-star rating in the recipe card above and head over to Pinterest to save this recipe to your “Dessert Goals” board. Follow Bite_Journey for more viral-worthy recipes, and don’t forget to upload a photo of your results in the comments—it helps other bakers see how delicious this recipe truly is!