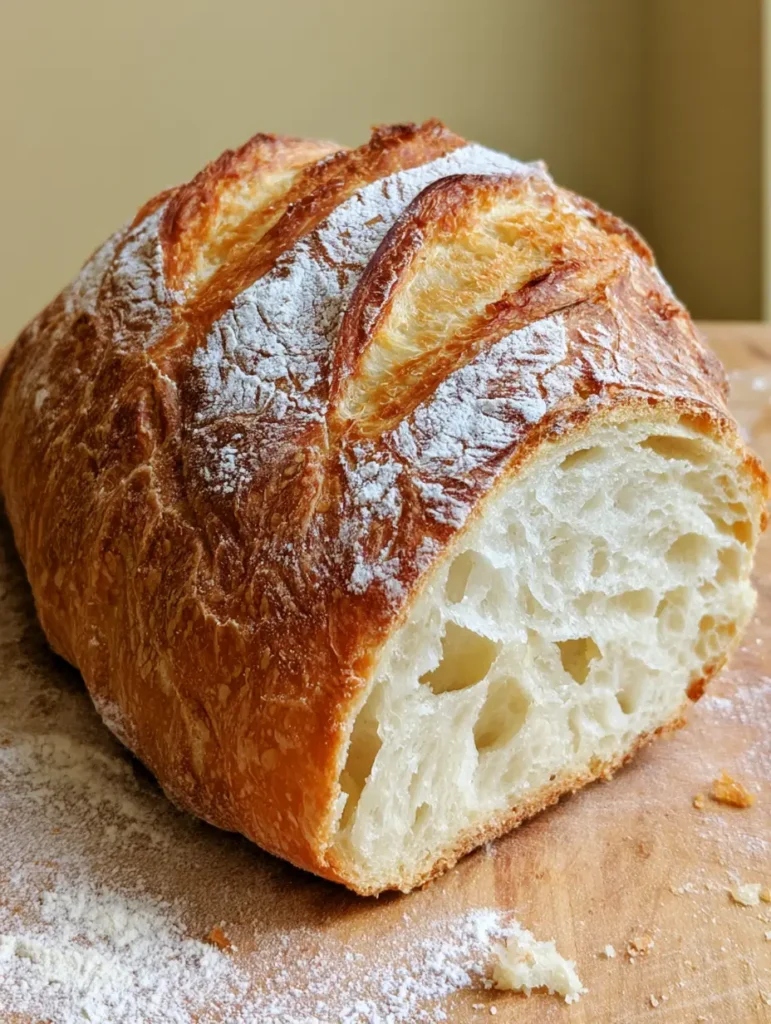
There is nothing quite like the aroma of fresh Crusty Italian Bread wafting through your kitchen. This particular recipe yields a rustic oval loaf that looks like it stepped straight out of a professional bakery window. With its deep golden-brown, highly textured crust and a light dusting of white flour, this loaf provides that satisfying “crunch” we all crave, followed by a soft, airy white crumb. Whether you are a beginner or a seasoned baker, this guide will help you achieve those three distinct diagonal artisanal scores and a perfect open crumb structure every single time.
Why This Artisan Italian Loaf Works
- Unbeatable Texture: We use a high-hydration dough to ensure a large, irregular, and open crumb structure inside a shatteringly crisp exterior.
- Visual Masterpiece: The flour-dusted exterior and rustic cracks make this loaf the centerpiece of any table.
- Simple Ingredients: You only need four pantry staples, but the secret lies in the fermentation and steam-baking technique.
- Versatile Pairing: It is the perfect vessel for a classic Italian tomato bruschetta or as a side for a one-pot creamy garlic pasta.
Essential Ingredients for the Perfect Crumb
Creating world-class Crusty Italian Bread requires high-quality basics. Each ingredient plays a scientific role in the final rise and flavor profile.
Bread Flour: 3 ½ cups (438g). High protein content is non-negotiable for that airy white crumb and strong gluten network. Do not substitute with all-purpose if you want those large holes!
Warm Water: 1 ½ cups (355ml). Water at 105°F-110°F (40°C-43°C) hydrates the flour and wakes up the yeast without killing it.
Active Dry Yeast: 2 ¼ teaspoons (7g). This provides the lift and the gassy bubbles that create the rustic oval loaf shape during the oven spring.
Sea Salt: 1 ½ teaspoons (9g). Salt controls the yeast fermentation and tightens the gluten, ensuring the bread isn’t bland.
Extra Flour: For dusting the wooden surface and the top of the loaf to achieve that flour-dusted exterior look.
Mastering the Dough: Step-by-Step Instructions
Phase 1: The Initial Mix and Autolyse
In a large glass bowl, whisk together your bread flour and sea salt. In a separate small jar, dissolve the yeast in the warm water and let it sit for 5 minutes until foamy. Pro Tip: If it doesn’t foam, your yeast is dead; start over!
Pour the yeast mixture into the flour. Use a wooden spoon or your hands to mix until a shaggy dough forms. Cover with a damp cloth and let it rest for 20 minutes. This “autolyse” period allows the flour to fully hydrate, making the kneading process much easier later on.
Phase 2: The Knead and First Rise
Turn the dough onto a lightly floured wooden surface. Knead the dough for about 8-10 minutes. You are looking for a smooth, elastic texture. When you poke the dough, it should spring back slowly.
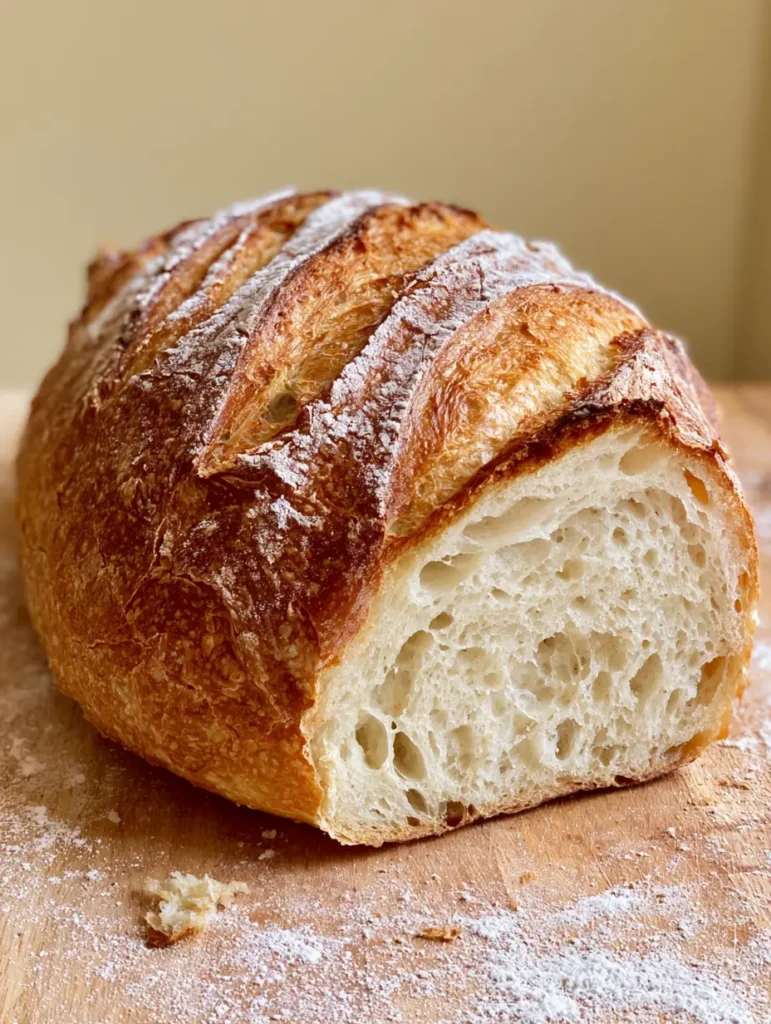
Place the dough in a lightly oiled bowl, cover tightly with plastic wrap, and let it rise in a warm, draft-free spot for 1.5 to 2 hours. You want the dough to at least double in size. This slow rise is what builds the large open crumb structure visible in the final slice.
Phase 3: Shaping the Rustic Oval Loaf
Gently deflate the dough. Do not punch it hard; we want to keep some of those air bubbles intact! Shape the dough into a rustic oval loaf by folding the sides into the center and rolling it over so the seam is on the bottom.
Place the loaf on a piece of parchment paper. Dust the top generously with white flour. This creates the beautiful contrast against the baked golden-brown crust later. Cover loosely and let it proof for another 45 minutes.
Phase 4: The Signature Scoring Technique
Preheat your oven to 450°F (230°C). If you have a baking stone or a Dutch oven, place it inside during the preheat. Just before the bread goes in, use a very sharp knife or a bread lame to create three distinct diagonal artisanal scores across the top of the loaf. Cut about ½ inch (1.25cm) deep. This allows the bread to expand beautifully without bursting at the seams.
Phase 5: Baking with Steam
Slide the loaf (on the parchment) onto the hot stone or into the Dutch oven. If using a stone, place a shallow pan of hot water on the bottom rack of the oven. The steam is the secret to a highly textured crust with visible surface cracks. Bake for 25-30 minutes until the exterior is a deep, dark golden brown and the loaf sounds hollow when tapped on the bottom.
Expert Tips for Bakery-Quality Results
- Use a Kitchen Scale: For the most airy white crumb, weighing your flour in grams is much more accurate than using cups.
- Temperature Matters: A cold kitchen will slow your rise significantly. If your house is chilly, let the dough rise inside an oven that is turned OFF but has the oven light turned ON.
- Don’t Skip the Steam: The steam keeps the surface of the dough supple during the first few minutes of baking, allowing for maximum “oven spring” and a thinner, crispier crust.
- Wait to Slice: It is tempting to cut into a hot loaf, but the bread is still “cooking” inside. Wait at least 30 minutes to reveal that bright white, soft interior.
Storage, Reheating, and Freezing
Storage: Store your Crusty Italian Bread at room temperature in a paper bag for up to 2 days. Avoid plastic bags, as they will turn the crust soft and gummy.
Freezing: This bread freezes beautifully. Wrap the whole loaf or individual slices in plastic wrap and then foil. Freeze for up to 3 months. To reheat, bake the frozen loaf at 350°F (175°C) for 10-15 minutes until the crust crisps back up.
What to Serve With Italian Bread
This loaf is the ultimate multi-tasker. Slice it thin to serve with roasted jalapeno cowboy cream cheese for a spicy appetizer, or use thicker slices for a homemade French bread pizza night. It also pairs perfectly with hearty soups or a simple dip of olive oil and balsamic vinegar.
Frequently Asked Questions
While you can, bread flour is highly recommended. The higher protein content in bread flour creates the gluten strength needed for a tall rise and a large, open crumb structure.
Generously dust the top of the shaped loaf with flour just before the final proof and again before scoring. This ensures the flour adheres and creates a beautiful white contrast against the golden crust.
Store it in a paper bag at room temperature. Plastic bags trap moisture, which will turn your crisp, rustic crust soft and chewy within hours.
Use a very sharp blade (a lame) and make swift, confident diagonal cuts about 1/2 inch deep. This directs the bread’s expansion and prevents the loaf from cracking in random places.
A lack of crustiness usually means there wasn’t enough steam in the oven or the oven temperature was too low. Using a water pan or a Dutch oven creates the steam necessary for that signature crunch.
The Ultimate Crusty Italian Bread Recipe
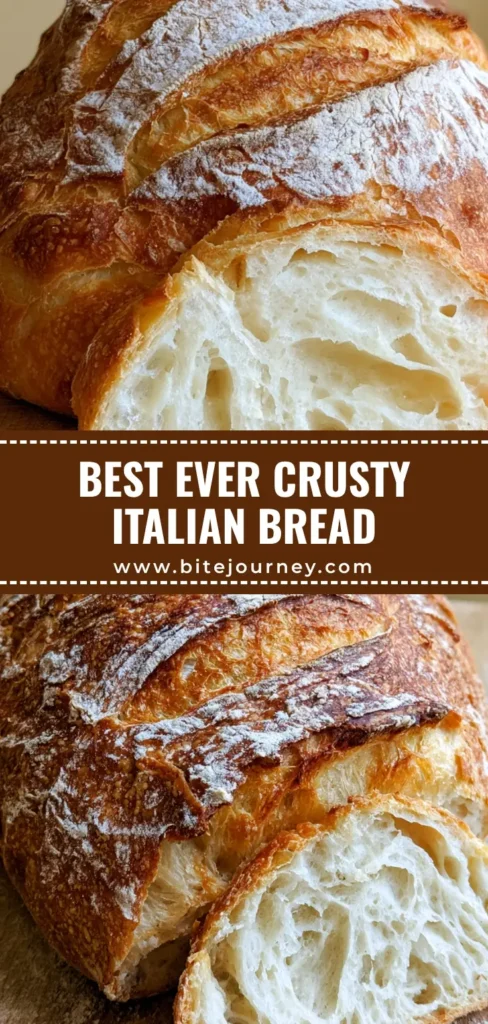
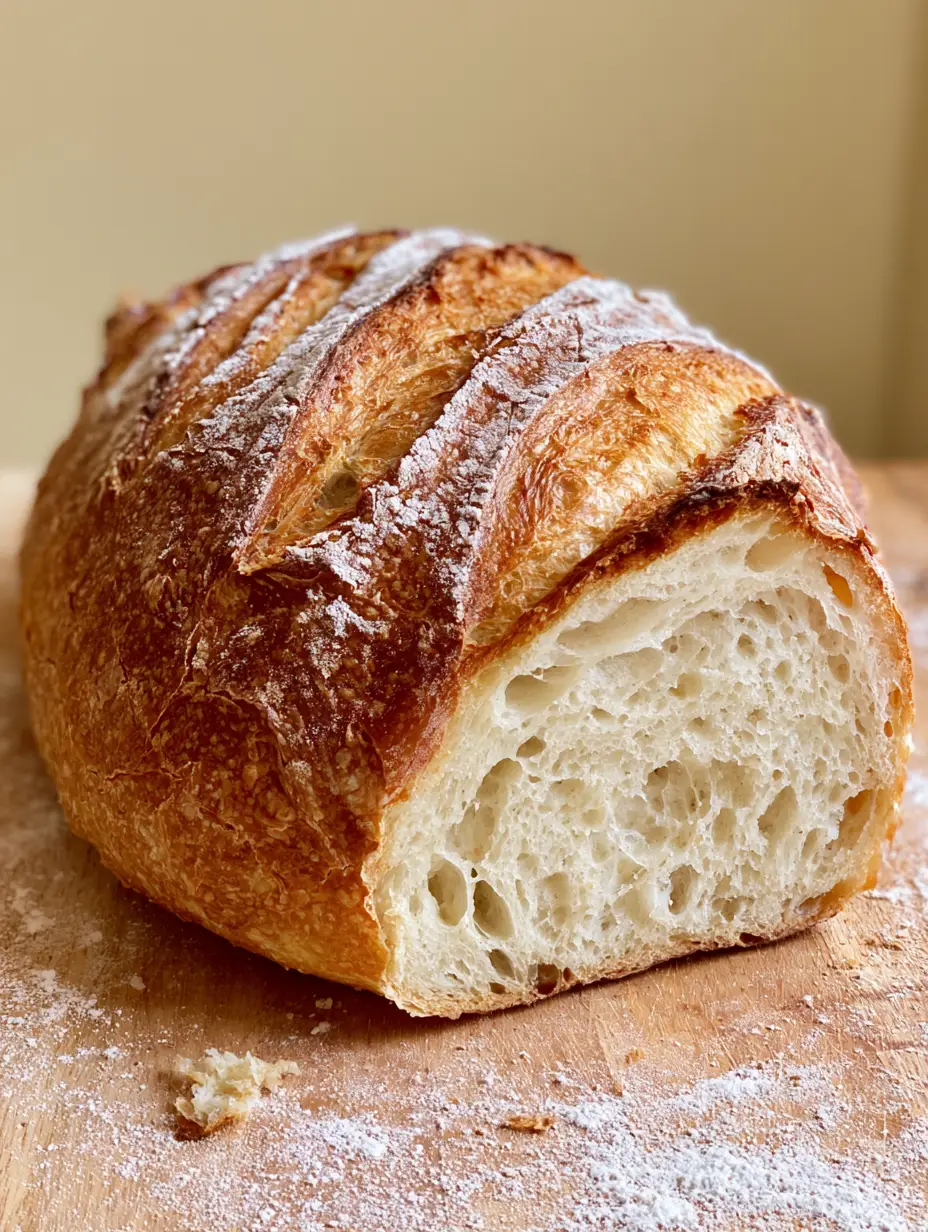
Crusty Italian Bread: The Ultimate Artisan Loaf Recipe
Ingredients
Equipment
Method
- Dissolve yeast in warm water (355ml) and let sit for 5 minutes until foamy.
- Mix flour (438g) and salt, then stir in yeast water. Let the shaggy dough rest for 20 minutes.
- Knead on a floured wooden surface for 8-10 minutes until smooth and elastic.
- Place in an oiled bowl, cover, and let rise for 1.5 - 2 hours until doubled in size.
- Shape into a rustic oval loaf, dust with flour, and let proof for 45 minutes on parchment paper.
- Preheat oven to 450°F (230°C). Make three diagonal artisanal scores on the top. Bake with steam for 25-30 minutes until deep golden-brown.
Notes
Don't skip the water pan in the oven; steam is vital for the crust texture.
Join the Bite Journey Community!
Did you achieve that perfect flour-dusted exterior? We want to see your bakes! Save this recipe to your “Bread Baking” board on Pinterest and follow Bite_Journey for more artisan carb inspiration. Leave a 5-star rating in the recipe card below and drop a photo of your Crusty Italian Bread in the comments—nothing makes us happier than seeing your rustic loaves!