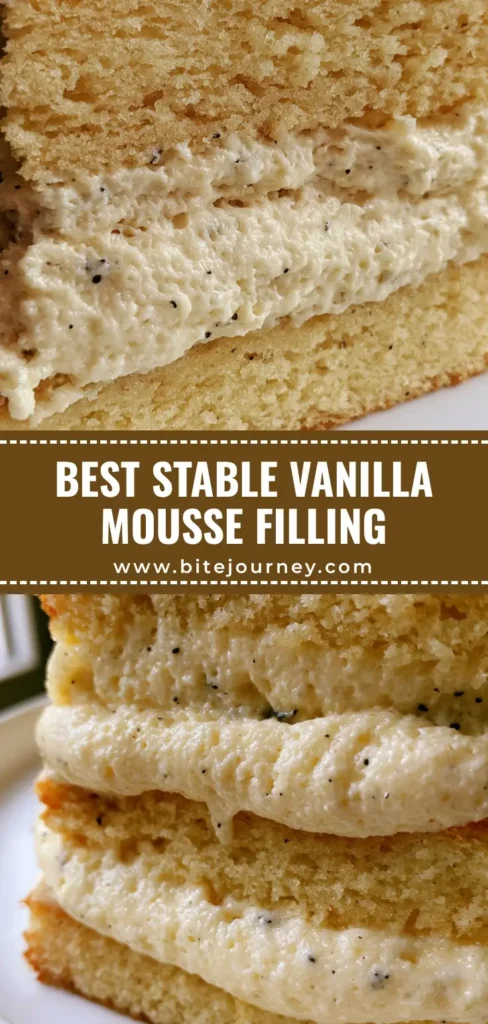
Vanilla Mousse Cake Filling is the secret behind those towering, professional bakery cakes that look as good as they taste. If you have ever wondered how pastry chefs achieve those perfectly thick, ivory layers with visible vanilla bean flecks, you are in the right place. This recipe delivers a filling that is aerated yet firm enough to hold up multiple cake tiers without bulging.
The beauty of this Vanilla Mousse Cake Filling lies in its structural integrity and its intense flavor profile. By using real vanilla bean paste, we ensure every bite is dotted with those signature black flecks. This isn’t just a whipped cream; it is a sophisticated, stabilized mousse designed specifically for the architecture of a layered sponge cake.
Whether you are preparing a wedding cake or a simple weekend treat, this filling provides the moist, pale golden vanilla sponge with a creamy, luxurious companion. Let’s dive into the science of creating the perfect mousse that stays put from the first slice to the very last bite.
Why This Is The Best Vanilla Mousse Cake Filling You Will Ever Make
- Unbeatable Stability: Unlike basic whipped cream, this mousse uses a precise gelatin ratio to ensure it stays firm even in warmer temperatures.
- Visual Sophistication: The inclusion of vanilla bean flecks creates a high-end, gourmet appearance that screams professional quality.
- Perfect Texture: It strikes the ideal balance between “melt-in-your-mouth” airy and “stackable-layer” density.
- Versatility: While designed for cake, it pairs beautifully with other desserts like Hawaiian cheesecake salad for a multi-textural experience.
The Anatomy of a Perfect Vanilla Layer Cake
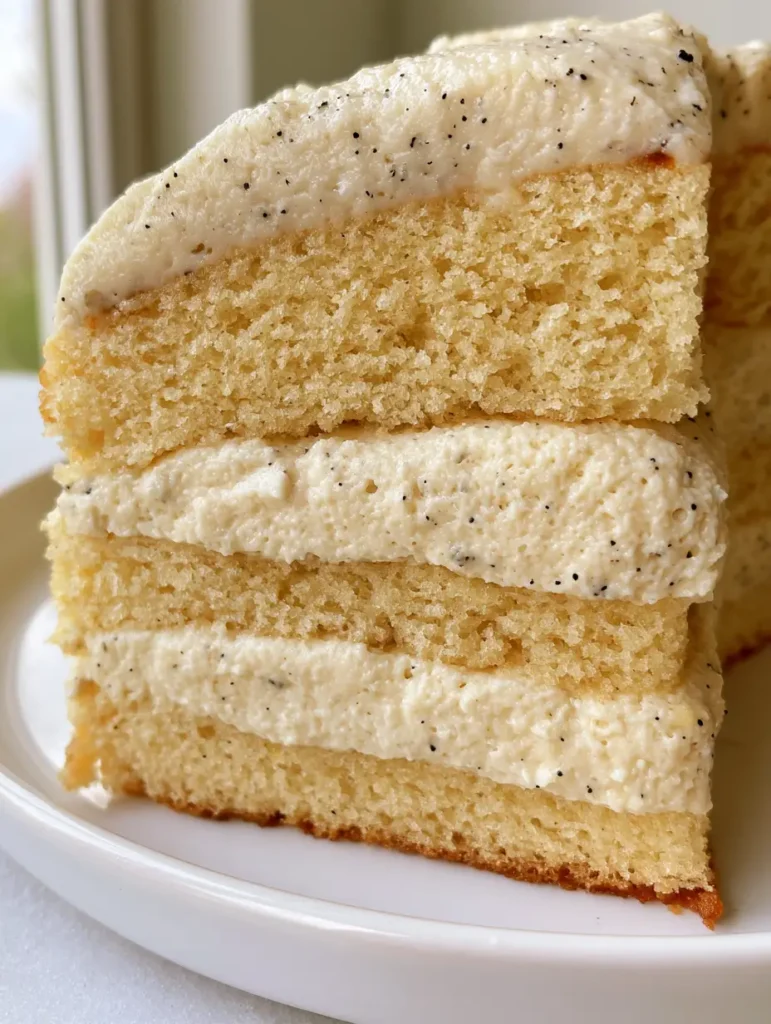
Before we mix the first bowl, we must understand the “Visual Recipe Blueprint.” We are aiming for a moist vanilla sponge cake base. This sponge should be pale golden with a delicate, tight crumb that doesn’t crumble under the weight of the filling.
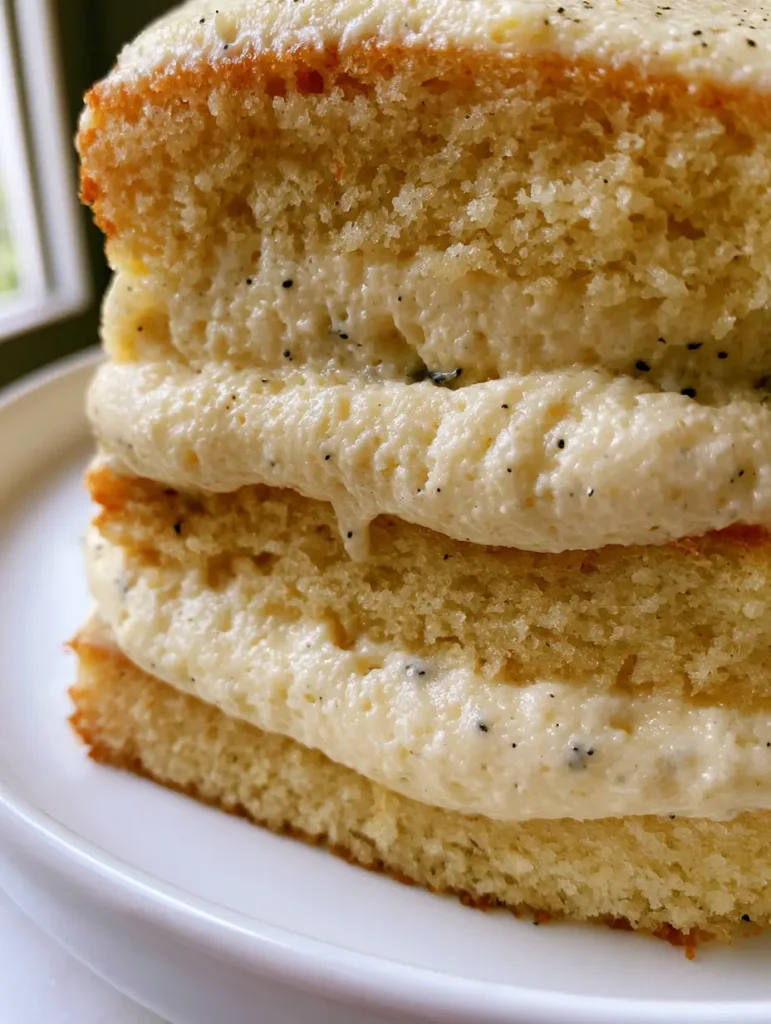
The Vanilla Mousse Cake Filling itself should appear as thick, smooth layers of pale ivory. When you slice into the cake, you want to see distinct, clean internal layers. The mousse must look aerated, filled with tiny bubbles, yet remain firm enough to support the sponge above it.
Natural lighting is your best friend when photographing this masterpiece. A close-up shot will highlight the creamy texture and those tiny black vanilla bean flecks that signify true quality. It’s the kind of dessert that makes people stop scrolling on Pinterest immediately.
Essential Ingredients for Success
Heavy Whipping Cream (480ml / 2 cups): This is the base of your mousse. It must be at least 36% fat content to achieve the necessary peaks and richness.
Powdered Sugar (120g / 1 cup): We use powdered sugar because the cornstarch within it helps with stability and provides a smooth, grit-free finish.
Vanilla Bean Paste (2 teaspoons / 10ml): This provides the intense flavor and the critical “flecks” seen in our visual blueprint. You can substitute with a scraped vanilla bean if preferred.
Unflavored Gelatin (1 packet / 7g): This is the “invisible” ingredient that turns whipped cream into a Vanilla Mousse Cake Filling that won’t collapse.
Whole Milk (60ml / 1/4 cup): Used to bloom the gelatin and create a smooth liquid base before folding it into the heavy cream.
Salt (a pinch): A tiny amount of fine sea salt cuts through the fat of the cream and enhances the floral notes of the vanilla.
If you are looking for a savory palate cleanser after such a decadent dessert, consider making a batch of cowboy cream cheese for your next gathering.
Step-by-Step Instructions for the Perfect Mousse
Step 1: Prepare the Vanilla Sponge Base
While the mousse is the star, the sponge provides the foundation. Bake a standard vanilla sponge and allow it to cool completely. A warm cake will melt your mousse instantly, ruining those distinct ivory layers.
Once cooled, level your cakes using a serrated knife. You want a flat, even surface so the Vanilla Mousse Cake Filling can sit in a thick, uniform layer across the entire diameter of the cake.
Step 2: Blooming the Gelatin
Place the cold milk in a small, heat-proof bowl. Sprinkle the gelatin over the surface and let it sit for 5-10 minutes. This process is called “blooming” and ensures no rubbery lumps in your finished mousse.
Gently heat the mixture in the microwave for 15 seconds or over a double boiler until the gelatin has completely dissolved. It should be a clear, smooth liquid. Stir in the vanilla bean paste and the pinch of salt at this stage.
Step 3: Achieving Stiff Peaks
In a large, chilled bowl, combine the heavy whipping cream and powdered sugar. Using a stand mixer or hand mixer, beat on medium-high speed. Watch for the visual cues: the cream will move from soft ripples to firm, stojng peaks that hold their shape.
Be careful not to over-beat, or you will end up with vanilla butter! You want it to look smooth, glossy, and thick, just like the ivory mousse in our visual blueprint.
Step 4: Folding and Tempering
Slowly pour the cooled (but still liquid) gelatin mixture into the whipped cream while the mixer is on low speed. Alternatively, fold it in by hand using a silicone spatula to preserve as much air as possible.
This is where the Vanilla Mousse Cake Filling gets its aerated yet firm texture. The vanilla bean flecks should be evenly distributed throughout the pale ivory cream.
Step 5: Assembling the Layers
Place your first layer of pale golden sponge on a white ceramic plate. Use a piping bag to create a “dam” of buttercream around the edge if you want extra security, though this mousse is stable enough to stand alone.
Spread a generous, thick layer of the mousse—roughly 1 inch (2.5cm) thick—over the sponge. Place the second sponge on top and repeat. Chill the entire cake for at least 4 hours before slicing to allow the gelatin to fully set.
For a complete dinner menu before dessert, our creamy garlic pasta is a fantastic, quick-prep option that leaves plenty of time for cake decorating.
Expert Tips for a Flawless Cake Filling
- Chill Everything: Your bowl, beaters, and cream should be ice cold. This creates the smallest, most stable air bubbles in the mousse.
- Don’t Rush the Bloom: If the gelatin isn’t fully dissolved, you will feel tiny “beads” in the mousse. Ensure the liquid is perfectly clear.
- Use a Cake Collar: For those ultra-clean, professional edges seen in the Midjourney Prompt, use an acetate cake collar during assembly.
- Watch the Color: If your mousse looks too yellow, it’s likely your vanilla extract. Stick to vanilla bean paste or clear vanilla to maintain that pale ivory look.
- Pairing Idea: This light filling is the perfect follow-up to a rich meal like creamy coconut garlic shrimp.
Storage and Freezing Guidelines
Refrigeration: This cake must be stored in the refrigerator due to the high dairy content. It will stay fresh and hold its shape for up to 3 days when covered loosely with plastic wrap or stored in a cake carrier.
Freezing: Surprisingly, this Vanilla Mousse Cake Filling freezes quite well thanks to the gelatin. You can freeze the assembled cake for up to 1 month. Thaw it slowly in the refrigerator for 24 hours before serving to maintain the texture.
Avoid Room Temperature: Do not leave the cake out for more than 2 hours. While stable, the mousse will eventually soften, losing that “firm yet aerated” visual appeal.
What To Serve With This Vanilla Mousse Cake
This cake is a showstopper on its own, but it can be part of a larger dessert spread. If you are hosting a whimsical party, try serving it alongside homemade cotton candy (coming soon) for a fun, sugar-filled experience.
Fresh berries like raspberries or macerated strawberries also provide a tart contrast to the creamy vanilla bean profile. A simple drizzle of salted caramel can also take the pale ivory mousse to a new level of decadence.
Frequently Asked Questions
Yes! Thanks to the gelatin stabilizer, this mousse freezes and thaws exceptionally well. Thaw in the fridge overnight for the best texture.
Yes, but you will lose the signature black flecks. For the best visual result and a more intense floral flavor, vanilla bean paste or a fresh vanilla bean is highly recommended.
The key is using unflavored gelatin bloomed in milk. This provides a structural matrix that prevents the mousse from compressing under the weight of multiple cake layers.
When kept refrigerated and properly covered, a cake with this filling will stay fresh and hold its shape for up to 3 days.
Graininess usually happens if the gelatin wasn’t fully dissolved or if the heavy cream was over-beaten. Ensure the gelatin liquid is clear and smooth before adding it to the cream.
The Final Vanilla Mousse Cake Filling Recipe
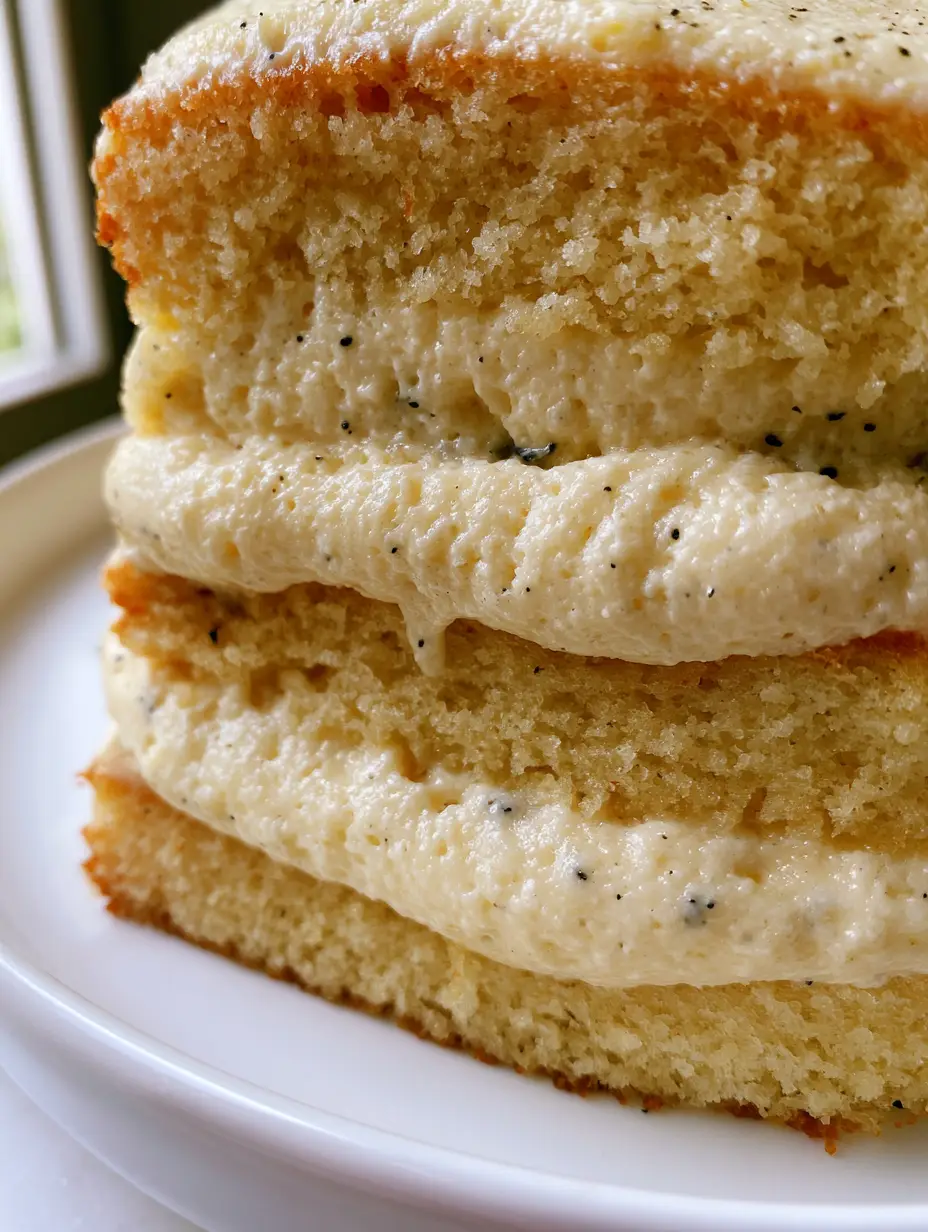
Vanilla Mousse Cake Filling: The Ultimate Professional Recipe for Stable Layers
Ingredients
Equipment
Method
- Sprinkle gelatin over cold milk in a small bowl. Let sit for 5-10 minutes until thick and spongy.
- Heat the milk mixture in the microwave for 15 seconds until liquid and clear. Stir in vanilla bean paste and salt. Let cool slightly but do not let it set.
- In a chilled bowl, beat heavy cream and powdered sugar until stiff peaks form and the texture is thick and glossy.
- Slowly stream the gelatin mixture into the whipped cream while whisking on low. Finish by folding with a spatula to ensure even vanilla fleck distribution.
- Apply immediately to cooled cake layers and refrigerate for at least 4 hours to firm up.
Notes
Use an acetate collar for perfectly clean sides on your cake layers.
Share Your Masterpiece!
Did you achieve those perfect vanilla bean flecks? We want to see! Save this recipe to your Dessert Board on Pinterest so you never lose it. Follow Bite_Journey for more professional-grade recipes made easy for the home cook.
If you made this cake, please leave a 5-star rating in the recipe card above and drop a photo in the comments below! Your feedback helps our community grow and thrive. Happy baking!